How to Clean a Vicks Humidifier
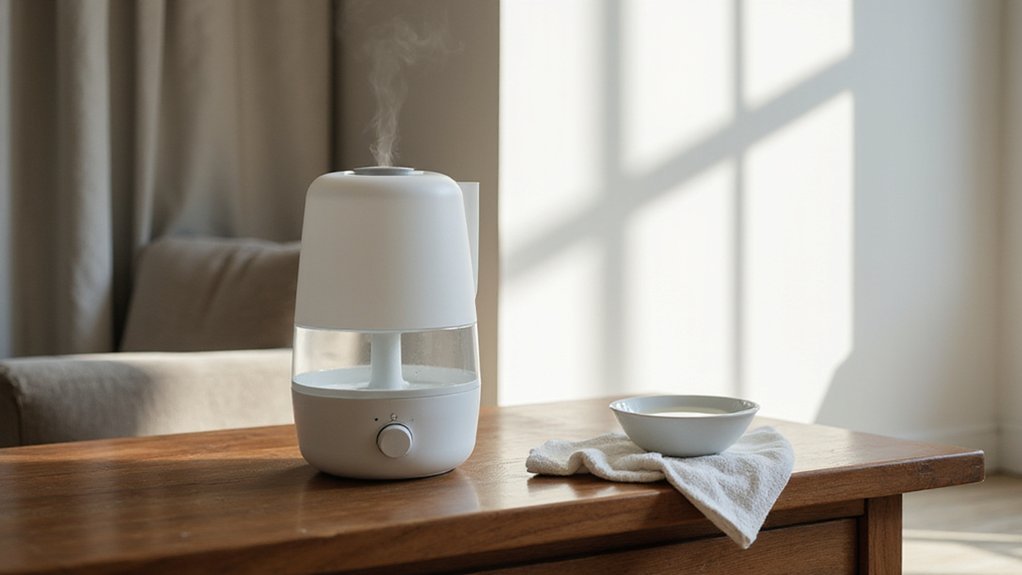
If your Vicks humidifier isn’t staying clean or is starting to smell, you’re probably wondering how to give it a thorough refresh. Regular cleaning is essential to keep it running smoothly and to prevent mold or mineral buildup.
With simple steps involving vinegar and disinfectant, you can restore your humidifier’s performance and keep the air in your space healthier.
Keep reading to learn how to properly clean and disinfect your Vicks humidifier step by step.
Why Regular Cleaning Keeps Your Humidifier Running Smoothly
Regularly cleaning your Vicks humidifier is essential for maintaining optimal performance and indoor air quality. Standing water inside the tank can quickly develop mold and bacteria, which then become airborne and can irritate your lungs. By sticking to a consistent cleaning routine, you prevent these microbes from spreading, reducing the risk of worsened asthma or allergy symptoms. Skipping weekly cleanings allows mineral deposits to build up, impairing the device’s ability to produce clean moisture efficiently. Keeping the tank free of residue also ensures that the humidifier spreads only clean, device-generated moisture instead of harmful particles. Regular maintenance not only safeguards your health but also prolongs the lifespan of your humidifier by preventing internal damage. To prevent mold and bacterial growth, using distilled water can significantly reduce mineral buildup. Proper care keeps the unit operating smoothly and your breathing safer over time. To avoid buildup, use a soft brush to gently scrub the water tank’s interior surfaces, just as you would clean the grille and blades of a tower fan to prevent dust and mold accumulation. For cool rooms, selecting the right dehumidifier prevents moisture-related issues like mold growth.
Supplies You’ll Need for Safe Cleaning
The supplies you’ll need for safe cleaning are straightforward and effective. First, gather white distilled vinegar, which is excellent for dissolving mineral deposits and mold. Add a few drops of liquid dish soap to help cut grease and dirt. Running water is essential for rinsing, and a soft cloth will help wipe down surfaces gently. For tight spots, use a soft toothbrush, cotton swabs, or a toothpick to reach nozzles and corners without scratching. Unplug the vaporizer and wait 20-30 minutes for cooling before beginning any cleaning. When selecting your cleaning method, consider that window air conditioners require similar attention to dislodging debris for efficient operation. Running a space heater in a similar size room can cost significantly more than your humidifier, so it’s wise to manage its use carefully. For optimal performance, consider upgrading to a smart thermostat to automate your home’s humidity and temperature control.
When disinfecting with unscented bleach, always dilute it with measured water—full-strength bleach can damage parts and should be avoided. Wear protective gloves during this process to safeguard your skin. For air-drying, prepare a dry towel and a clean surface for parts to dry completely. Keep an eye on your model’s filter needs; if the filter requires replacement, don’t attempt to clean it as cleaning may reduce its effectiveness. Stick to natural cleaning solutions like vinegar and soap for regular maintenance to keep your humidifier safe and chemical-free. Prepare all these supplies in advance to make your cleaning quicker and more efficient.
Descale Mineral Buildup With White Vinegar
To descale mineral buildup with white vinegar, start by filling the device’s base until the heating element is fully submerged in undiluted vinegar. For warm mist models, this usually means pouring vinegar directly into the base; for cool mist or ultrasonic units, pour the vinegar into the nebulizer, water tank, or reservoir. Allow the vinegar to soak for at least 20 minutes. For heavy mineral deposits, extend the soaking time to several hours or overnight, as longer exposure enhances vinegar’s ability to dissolve deposits. Reducing humidity with a dehumidifier can also help keep centipedes out of your home. For ongoing maintenance, consider using distilled water to prevent future mineral accumulation. If you prefer a commercial alternative, allergy-friendly air purifiers can also reduce airborne mineral dust.
After soaking, gently use a soft brush or cloth to loosen and lift the scale. Avoid scrubbing harshly, since aggressive scrubbing can damage the parts. Once the buildup is removed, empty the vinegar and thoroughly rinse the tank or reservoir with water. Repeat rinsing until the vinegar smell fades completely, ensuring no lingering odor remains. Never submerge the entire base or turn on the unit during cleaning to prevent damage to electrical components.
Disinfect With Bleach: When and Why It Matters
Bleach disinfection should be performed weekly for most cool mist humidifiers, and monthly between descaling sessions. It’s especially important before storing the unit when it will remain unused, as moisture left inside can promote microbial growth. If you notice a musty smell or see visible mold, it’s a clear sign you need to bleach the device.
Bleach effectively kills bacteria and mold spores that normal rinsing might miss. While vinegar is good for removing scale, it does not eliminate microbial contamination. Without proper disinfection, standing water in your humidifier can become a breeding ground for germs, which your unit then aerosolizes into the air, potentially affecting indoor air quality. Wear gloves during the disinfecting process to protect your skin from the bleach solution.
For safe and effective bleach cleaning, always unplug the humidifier first. Mix one teaspoon of bleach with one gallon of water—never use a stronger solution. Swish the solution throughout the tank, ensuring all surfaces are contacted. Let it soak for at least 20 minutes before draining. Removable parts should also be soaked in the solution to ensure full disinfection. Proper ratio and dwell time are essential for killing germs without damaging your humidifier. For a similar standard of performance, white ceiling fans with lights offer efficient airflow and illumination for your home.
Clean the Water Tank and Base, Step by Step
To clean your water tank and base effectively, follow these steps. First, unplug the unit and lift the tank off the base, then carry it to the sink. Empty all water from the tank. Fill it with 1 to 2 cups of distilled white vinegar, enough to coat the interior surfaces. Swirl the vinegar around to ensure full contact, then let it soak for 15 to 30 minutes. This soak helps loosen mineral deposits and buildup. Using an air quality monitor can help you detect if mold spores are present in your home after cleaning. Regular cleaning with distilled white vinegar is recommended to prevent mold and buildup from forming.
After soaking, use a soft cloth or a gentle brush to scrub away any stubborn spots inside the tank. Rinse thoroughly with clean water until the vinegar smell disappears. Meanwhile, drain the base of the humidifier and wipe it down with a damp cloth. Use vinegar on any mineral deposits found, but avoid submerging the base entirely, as its electrical parts cannot handle water. For best results, always check your humidifier filter for signs of wear and replace it according to the manufacturer’s guidelines to prevent mold and buildup.
Once all parts are clean, dry everything completely before reassembling. Attach the tank cap and nozzle only after they are dry to prevent mold and bacteria growth. Regular cleaning every one to two weeks helps prevent grime buildup, keeps the humidifier functioning well, and extends its lifespan. When reassembling, refill the tank with fresh water to resume use.
Clean the Mist Chimney, Heating Element, and Small Parts
Before cleaning the mist chimney, heating element, and small parts, ensure the unit is unplugged and has cooled for at least 20 minutes. To remove the mist chimney, slide the blue locking latch forward and lift it away. On warm mist models, lift the chimney along with the tray after releasing the latch. Never rinse the chimney under running water if the manual warns against it, as this could damage the unit. This process involves detaching the medicine cup and mist chimney from the tray to keep all parts separate for detailed cleaning. Refer to the Vicks humidifier filter replace guide for compatible filter options if your model requires one. Using vinegar to remove buildup is an effective method recommended by cleaning experts. For spaces where a larger, more stationary unit is preferred, a pedestal fan offers a different cooling approach than the tower style.
For mineral buildup on the heating element, pour one cup of undiluted white vinegar into the base and let it soak for 15 to 20 minutes. Use a soft brush to gently scrub the deposits until they lift. Avoid abrasive tools that could scratch or damage the surface. If disinfecting is necessary, prepare a solution of one teaspoon of bleach per gallon of water, then rinse all parts thoroughly until the bleach smell disappears.
Remove small parts such as the medicine cup, water tray, and mist nozzle. You can wipe these components with vinegar or bleach solution. Always dry all parts completely before reassembling to prevent mold or damage. For air filter replacement and installation tips, refer to your model’s user guide, as procedures can vary between units.
How to Dry and Reassemble Your Humidifier After Cleaning
Once all parts are thoroughly cleaned, you must dry them completely before reassembling the humidifier to prevent mold or mildew growth. Place the components on a clean towel or drying rack—ensure they are not stacked while wet. Wipe away any residual moisture from the base, tank, and removable pieces using a soft cloth. Allow at least one hour, or up to a full day, for the parts to dry completely, paying special attention to hidden areas like vent openings and seams. Some areas with water pooling may require extended or overnight drying due to water retention. For a similar emphasis on airflow and preventing moisture buildup, consider the design features of a ceiling fan with light for better air circulation in the room. For a similar cleaning process, you should also use a soft brush or cloth to gently remove any residue from hard-to-reach crevices. To further prevent mold growth, you can adopt the tower fan cleaning practice of regularly wiping down exterior vents to reduce dust accumulation.
Reassemble only after every component is completely dry. Keep the unit unplugged during the process for safety. Start by replacing the base components, then reinstall the water tank and any removable trays or chambers. Make sure all covers, caps, and tabs are securely in place before refilling. Use distilled water for refilling to minimize mineral buildup, which can prolong the lifespan of your humidifier and help maintain healthy indoor humidity. Finally, run the unit on its lowest setting for a few minutes to clear out any remaining cleaning solution and confirm it’s working properly.