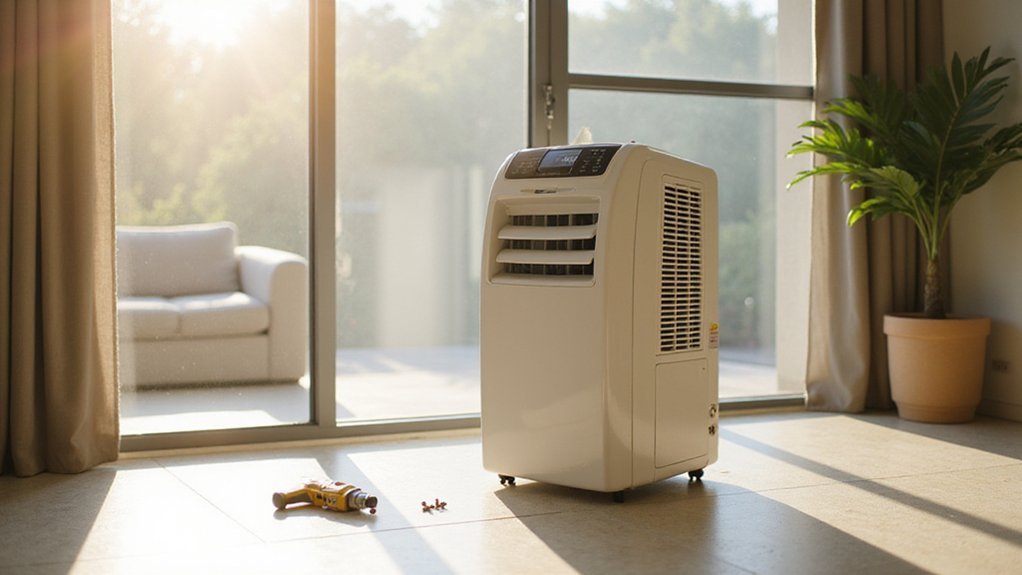
How to Install a Portable Air Conditioner
Getting your portable air conditioner set up might seem tricky, but with the right steps, it can be quick and straightforward.
Whether you’re cooling a single room or a small space, proper installation ensures it runs efficiently and quietly.
By the end of this guide, you’ll know exactly how to position and connect your unit for maximum comfort and performance.
Gather Your Parts First
Before you begin, ensure you have all necessary components. Check your unit’s exhaust hose to make sure it follows a straight route for optimal airflow. Gather the window exhaust adapter and slider kit, which are designed to match your window type, not just color options. Use coupling pieces to secure the hose ends tightly, and foam seals to block gaps and reduce noise from rattling. Inspect the power cord to confirm it can reach a grounded outlet without needing an extension cord. Collect the remote and batteries, and verify that the air filter is accessible for a quick test run. If your model requires drainage, gather the drain hose or plug. Having everything on hand prevents frustrating delays during setup. For a quieter and more efficient alternative, you might consider how window AC units compare in cooling capacity and energy use before committing to this portable setup. Additionally, for severe moisture issues, a dehumidifier for water damage may be a more effective solution for drying out the room. For a more permanent upgrade, consider that smart thermostat installation requires a C-wire for consistent power to the device.
Pick the Right Location
Choose a spot near a window with minimal hose length. The exhaust hose should be as straight as possible, avoiding sharp bends or kinks, to reduce air resistance and improve efficiency. Select a location with easy window access, but ensure the exhaust path isn’t blocked by curtains or furniture. Place the unit on a flat, stable surface with at least 20 inches of clearance around it to allow proper intake and exhaust airflow. This setup promotes optimal room circulation and prevents obstructions. For those without a window, consider a windowless air conditioner that uses a different venting method. Additionally, using a portable air conditioner in humid bedrooms often requires pairing it with a bedroom dehumidifier for optimal comfort. To further alleviate dryness, consider placing a top-rated humidifier nearby for relief from a dry throat.
Avoid positioning the unit in direct sunlight or near heat sources, as shade helps conserve energy. For noise considerations, keep it away from sleeping or quiet areas to minimize disturbance. In long rooms, place the unit along the longest wall for even cooling; in bedrooms, do not aim airflow directly at the bed. If you have an open layout, choose a central spot to distribute cooled air evenly. With these guidelines, you’ll pick an ideal location that maximizes your air conditioner’s performance.
Install the AC Window Kit for a Tight Seal
After choosing the appropriate location, you can begin installing the AC window kit for a secure, airtight seal. First, measure your window opening to ensure the panel size matches your window frame; this guarantees that the hardware will fit properly and function effectively. Dry-fit the panel—place it in the window without attaching anything—to verify it expands snugly without forcing or causing damage, especially around handles or locks that might interfere with a tight seal. Measure all four sides of the window frame and add the total distances to confirm the seal kit’s 4-meter length is sufficient. For a similar focus on reliable performance, consider how quality ceiling fans also require precise installation to maximize efficiency.
Thoroughly clean and dry the window frame before applying adhesive strips or foam weatherstripping. Press the seal material firmly along the entire border of the panel to create a continuous, airtight barrier against outside air. After positioning the panel, perform a seal inspection to check for gaps or shifts. Fill any uneven spaces with cut-to-fit foam to eliminate air leaks, and press down all edges to secure them.
Finally, make sure the hose opening aligns correctly so the adapter passes through cleanly without leaving gaps. Secure the connector in place without crushing the bug mesh or reducing airflow. When installed properly, these steps will help maintain a tight, effective seal around your AC window unit.
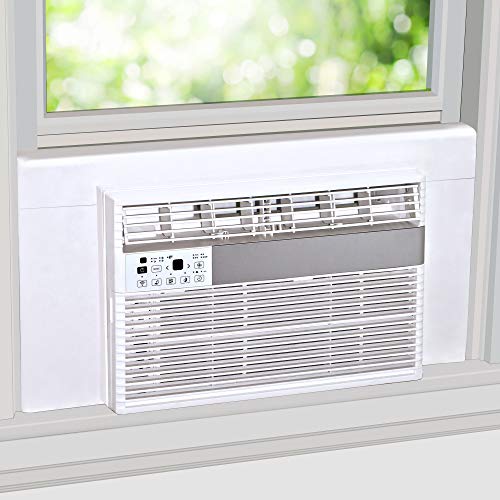
MATERIAL - 1’’ thick insulating foam covered in white flexible vinyl
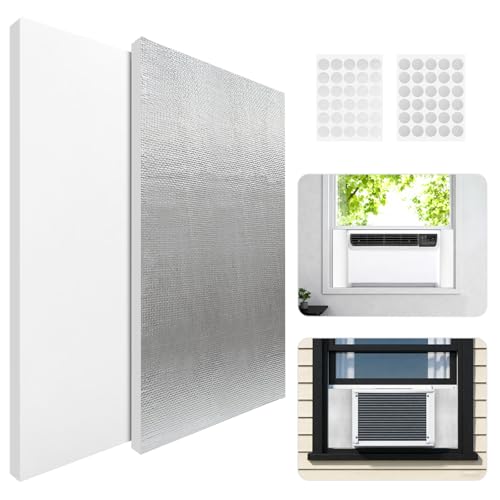
Reflective & Waterproof Design: Dual-layer aluminum foil reflects heat and sunlight while blocking moisture, maintaining ideal indoor temperatures year-round.
Route the Exhaust Hose for Best AC Performance
To ensure the best AC performance, route the exhaust hose directly outdoors through the shortest, straightest path. Keep the hose close to your window to minimize length, which helps maintain airflow efficiency and cooling power. Secure both ends snugly to prevent hot air from leaking back into the room. The flexible hose material allows for easy adjustment, but avoid crushing or pinching it, as kinks can severely reduce airflow. Gentle curves are preferable; sharp bends increase resistance and hinder performance. Never extend the hose beyond the manufacturer’s recommended length, as doing so disregards warranty and reduces cooling effectiveness. Improper routing that loops hot air back into the room will negate cooling efforts entirely. While dehumidifiers trap moisture indoors to improve air quality, an air conditioner’s exhaust system must expel hot air outdoors to function correctly. For optimal performance, the unit’s fan speed setting directly influences the rate of air exchange and filtration effectiveness. Choosing a venting kit with adjustable panel widths ensures a secure fit for various window sizes.
Seal every gap in the window kit with weatherstripping to prevent warm air from entering or cooled air from escaping. Test the setup by running the unit and inspecting for pinched sections or leaks. Make sure warm air is exiting freely and the hose remains unobstructed. Proper outdoor venting is essential; venting into an attic or garage will trap heat and undermine cooling. Stick strictly to the measured hose length, and you will maximize your unit’s cooling capacity.
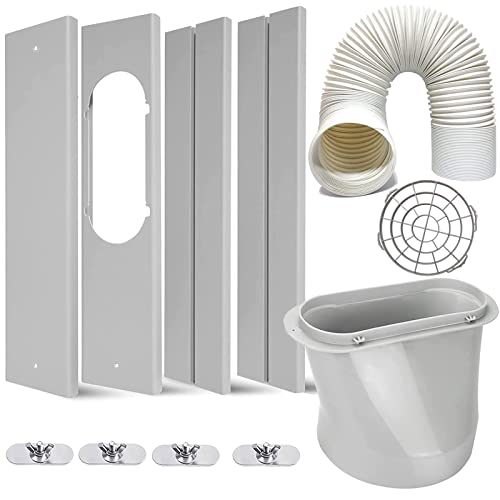
❄️【Strengthen sealing】:This window kit keeps your room cool for longer and save electricity charges. It effectively diffuse the hot air out of the window, preventing warm air circulating in your room meanwhile.
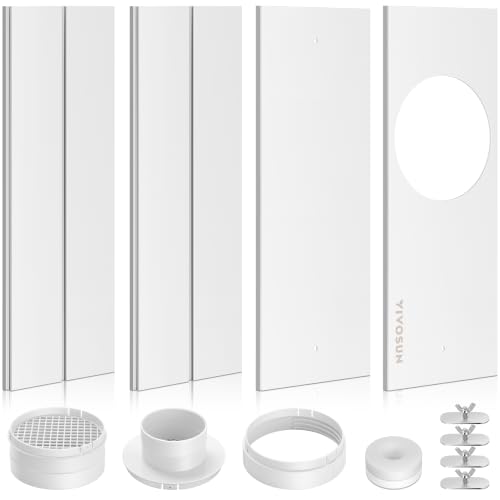
Durable Material: This window vent kit is made of durable PVC material that is able to withstand extrusion, aging, and wear; It won't crack or peel off, even after prolonged exposure to the sun or extreme summer heat, ensuring years of dependable use
Empty the Water Tank or Set Up Continuous Drainage
To empty the water tank or set up continuous drainage, start by turning off and unplugging the unit to ensure your safety. Locate the drain port on the back or lower rear of the appliance. For manual water disposal, place a bucket beneath the outlet, remove the cap, and allow the tank to drain completely. In very humid areas, drain frequently to maintain proper function.
If you’re setting up continuous drainage, gather the appropriate drainage accessories. Attach the hose securely to the designated continuous-drain port. Make sure the hose runs downhill without any kinks or raised sections to rely on gravity for water flow—aim it toward a floor drain or sink. If gravity drainage isn’t feasible, you’ll need an external condensate pump to move the water. Reducing indoor humidity levels is critical because silverfish thrive in moist environments, and a dehumidifier for silverfish can help eliminate these pests. Choosing the right cooling capacity for your space can also impact how frequently the unit runs and produces condensation. For homes prone to these pests, selecting a model with a continuous drainage option prevents standing water that attracts centipedes.
Once draining is complete, tighten the drain cap securely. Clean up any spills promptly. For continuous drainage setups, double-check that the hose connection remains leak-free. Always confirm that your receiving container can hold the incoming water without overflowing before restarting the unit.
Plug It In and Check for Air Leaks
Plug in the unit only when the water tank is emptied or you have continuous drainage connected. Use a grounded 3-prong outlet directly—do not use an adapter or extension cord, as this is crucial for electrical safety. Ensure the outlet is a dedicated 120V circuit. Press the RESET button on the plug to verify the LCDI protection before turning on the unit. Always grasp the plug itself, not the cord, and confirm the unit is upright before powering on. For optimal mold prevention, the dehumidifier should maintain relative humidity below 60% to inhibit spore growth. Consider upgrading your controls to match the efficiency of a smart thermostat for better climate management. Unlike bladeless fans, portable air conditioners rely on a compressor to cool the air, not just circulate it.
Once turned on, check that cool air is circulating and warm air vents outside. For leak prevention, inspect the window kit perimeter for a tight, airtight fit. Verify that hose-to-unit and hose-to-window adapter connections are fully seated without gaps. If you notice leaks, seal them with sealing sponge or extra insulation. Tighten all connections to prevent hot air from re-entering the space.