How to Clean a Honeywell Tower Fan
Cleaning your Honeywell tower fan might seem tricky, but a few simple steps can keep it running smoothly and quietly. Regular maintenance helps improve airflow and prolongs the life of your fan, so it’s worth the effort.
By the end, you’ll know how to safely and effectively give your fan a thorough clean and keep it in top shape.
Unplug Your Honeywell Tower Fan Before Cleaning
Always unplug the Honeywell tower fan at the wall outlet before cleaning. Don’t just turn it off; disconnecting completely reduces the risk of electrical shock and prevents moisture from reaching live electronics. Even if the fan appears off, stored power can still pose a hazard during disassembly. This precaution is similar to understanding how a humidifier works by managing electricity and moisture safely. For a refreshing environment after cleaning, consider using top aromatic oils in a separate diffuser to enhance the air quality.
Grip the plug firmly and avoid yanking the cord. Wait about a minute after unplugging to allow any residual electricity to dissipate. Never spray liquids directly onto the unit or let water drip into the motor housing, as moisture can cause damage. Use a soft, damp cloth to clean the exterior, then dry it thoroughly. Steer clear of harsh chemicals like gasoline or abrasive cleaners, which can damage surfaces. Choosing a quiet cooling unit for your window can offer similar airflow performance with less maintenance hassle.
Starting with the fan unplugged helps prevent shock risks and equipment damage. Maintain power-off status until the unit is completely dry and reassembled, ensuring safe and effective cleaning.
Tools and Supplies Needed for Cleaning a Honeywell Tower Fan
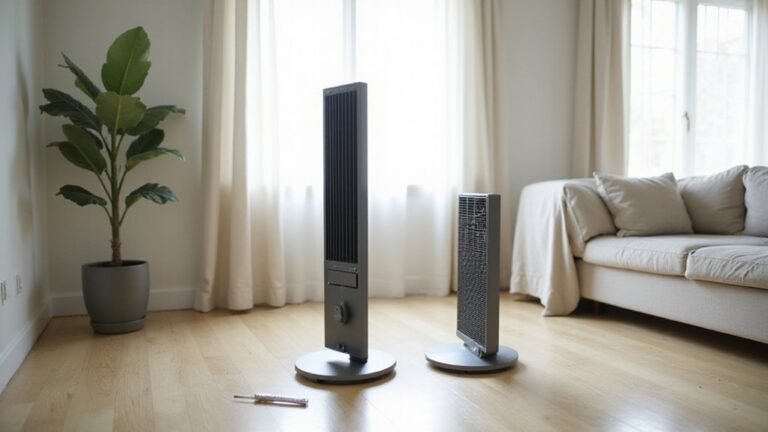
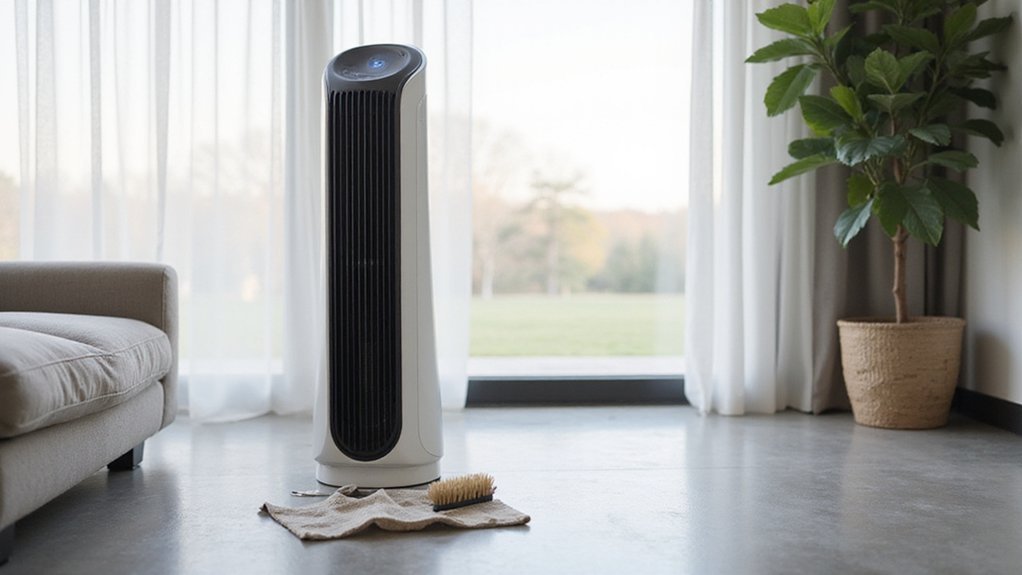
Once you’ve unplugged your fan, gather the necessary tools to ensure a safe and effective cleaning process. You will need a Phillips screwdriver and a small screwdriver set; check your user manual to identify which screws are removable. For dust removal, use a vacuum with a brush attachment, a handheld vacuum, and compressed air for hard-to-reach spots. Soft cloths or microfiber cloths are ideal for wiping down the exterior, with mild detergent used for stubborn grime. For detailed cleaning, a soft-bristle brush, cotton swabs, or pipe cleaners dipped in rubbing alcohol help remove residue from tight areas. Always place a towel under the fan to catch any drips, and wear safety gear such as a face mask and goggles to protect yourself during cleaning. Proper maintenance of your tools, like cleaning brush attachments regularly, ensures they stay effective and prolongs their lifespan for consistent cleaning results. Using a bedroom dehumidifier alongside the fan can help reduce dust buildup in the air. After removing the housing, you may find that bearings dry out early and require re-oiling to ensure smooth operation. For a fresher-smelling room, consider applying a few drops of a natural scent booster to the fan’s exterior filter or intake area. If you are looking for a more powerful cooling solution, consider a portable air conditioner without hoses for easy placement in any room.

Efficient cleaning: This set includes 3 bendable fan dusters with microfiber heads, fan cleaner allowing you to easily remove dust and dirt from ceiling fans, floor vent fan,air conditioning vents, curtains, and more.

【Upgraded Sturdy 5 PCS Feather Duster Kit】: Tiumso dusters for cleaning include a bendable microfiber duster head, a chenille duster head, a crevice brush, a cobweb duster, and a telescoping pole. Perfect for furniture, corners of high ceilings, ceiling fans, blinds, windows, webers, cars, bookshelves, sofa etc. With its lightweight feature, easy for both adults and children to use.

Fan Cleaner and Fan Duster Set: This set includes 2 bendable fan dusters with microfiber heads, easily removing dust and dirt from ceiling fans, floor fans, air conditioning vents, curtains and more for daily home cleaning.
Remove Dust From Your Honeywell Tower Fan’s Grille and Vents
Dry methods are the safest way to remove dust from your Honeywell tower fan’s grille and vents. Start by using a vacuum with a brush attachment and carefully work it across the front grille, back vents, and airflow channels. This will pick up loose dust and debris without adding moisture that could harm electronics. For a thorough clean, damp cloth wipes can be used on the exterior shell after dust removal, but avoid getting moisture near the motor.
Next, use compressed air in short bursts to dislodge stubborn dirt deep inside the vents. Be gentle to avoid damaging the fins or louvers. For areas where dust is packed tight, gently insert a soft brush or pipe cleaner into the grille slots before vacuuming again. Cotton swabs are helpful for cleaning tight edges around buttons and vent seams, ensuring every nook is dust-free. For comparison, casement window ACs often require different cleaning methods due to their unique installation and venting design.
Repeatedly going over these parts helps maintain airflow and keeps your fan working efficiently. Regular cleaning every few weeks prevents excessive dust buildup, which can hinder performance and recirculate allergens in your space. Always use dry cleaning tools to avoid moisture damage and ensure your fan stays in good shape. For deeper maintenance, preliminary disassembly involves removing the front grille by unscrewing the six hidden screws and then sliding off the fan blades after loosening the hub nut. Similar to an ecobee thermostat, proper placement away from obstructions ensures optimal performance and airflow around the device.

Universal Fit Design: Equipped with a 1.25-inch (32mm) diameter fitting and adapters for 1 3/8-inch and 1.5-inch connections, ensuring compatibility with Shop Vac, Eureka, Bissell, Kirby, Rainbow, Shark, Hoover Beam, Nutone, and most central vacuum systems.

Rich Package: The chaseroad 3PCS Horse Hair Brush shop vac accessories set, which includes 2 durable and scratch-resistant brushes, 1 vacuum adapter (1 1/4″ to 1 3/8″). Our round brush attachment works on a variety of surfaces, making it easy to keep your home clean and as convenient as possible.

𝐏𝐫𝐞𝐦𝐢𝐮𝐦 𝐌𝐚𝐭𝐞𝐫𝐢𝐚𝐥: Made from high-quality plastic and equipped with soft, dense bristles, our vacuum PP hair brush is robust, sturdy, and not easy to damage or break, ensuring long-term use
How to Safely Disassemble Your Honeywell Tower Fan
To safely disassemble your Honeywell tower fan, start by unplugging it and confirming it is completely powered off to prevent electric shock. Lay the fan on a soft towel on a flat surface to protect its finish and prevent tipping. Remove the bottom fasteners or thumbscrews; avoid touching any rubber foot screws unless they are securing the housing itself. Carefully pry apart the snap-fit base halves, doing so gently to avoid cracking the plastic components. Wires should be neatly tucked into a designated channel for organization during disassembly.
Next, locate and remove the hidden Phillips or Torx screws securing the rear panel and the wind tunnel. Carefully lift these components to prevent strain on the wiring. During this process, take care not to damage the motor connections or wires. To maintain organization, set aside all screws in a designated container, noting different lengths to ensure proper reassembly.
Once the housing is open, you will gain safe access to the motor and blades, allowing for more thorough cleaning of internal parts. Proceed gently at each step to preserve the fan’s integrity and avoid common mistakes such as stripping screws or damaging delicate wiring.

High-Quality--Ceiling fan screws are specifically designed to resist rust. They're made from high-quality brass and stainless steel materials with a brass exterior finish, which provides excellent corrosion resistance and rust protection.

Perfect for computer case fans and radiator fan mounting, these radiator fan screws kit ensure secure and stable, enhancing the efficiency of your cooling fan system
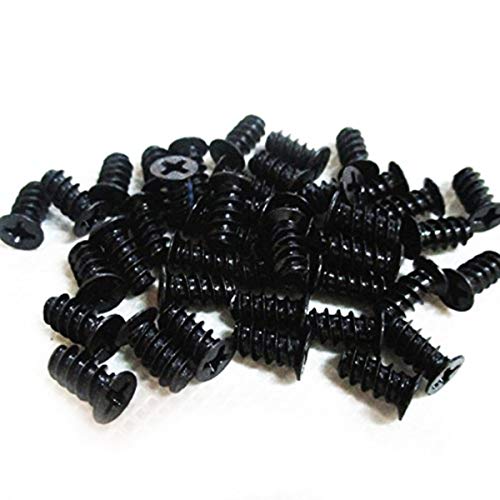
Universal computer case cooling fan mounting screws
Clean the Exterior Without Damaging the Electronics
Unplug the fan and keep the electronic components dry to prevent damage. Start by using a vacuum with a soft brush attachment to gently remove loose dust from the casing, vents, and grille. This reduces the amount of moisture you’ll need later. Dampen a microfiber cloth so it’s just barely damp—never wet—and wipe the outer shell gently. Avoid spraying liquids directly onto the fan; instead, spray the cloth and then wipe. Use a dry cloth or cotton swab to carefully clean around the control panel and buttons, helping to prevent electrical shorts. After cleaning, inspect all seams and vents to ensure no residual moisture remains. Do not reassemble or power the fan until you are confident all areas are completely dry. To prevent mold buildup, periodically clean the fan blades and interior with a dry brush or compressed air to remove trapped moisture and lint. For persistent dryness, consider adding a humidifier for dry mouth to maintain comfortable indoor air moisture levels while the fan is in use. For optimal placement, ensure the fan is positioned at least 6 feet away from any wall or obstruction to allow for proper airflow, as recommended for smart thermostat installation.

【Multipurpose】: This duster with 4 duster cloth, can be used for both interior and exterior car cleaning, as well as for daily household cleaning. It is lightweight, easy to use, and highly efficient.

Compatible with Swiffer Hand Duster:These reusable duster refills are specifically designed for seamless compatibility with all Swiffer handles, including the short handle, extendable handle, and ceiling fan super extender handle (Handle is Not Included)

MR.SIGA microfiber duster features a fluffy microfiber head which covers a large cleaning surface, traps and hold dust like a magnet instead of pushing it around.
How to Dry and Reassemble Your Honeywell Fan
Make sure your fan is completely dry before reassembling it. Start by removing all moisture: wipe all surfaces and grilles with a soft, dry cloth, then blot away any remaining water with a towel—be careful not to press liquid into seams or joints. For thorough drying, allow parts to air-dry in a cool, dry area; avoid using heat sources, as high temperatures can warp or damage plastic and wiring. For tight corners and hidden spots, use cotton swabs to remove residual moisture. Similarly, you can use a fragrance oil diffuser to refresh the room with a pleasant scent once the fan is reassembled and running. For a more automated experience, consider whether programmable vs smart thermostats better suit your home’s efficiency needs. For those recovering from throat irritation, using a humidifier with a fine mist can also help soothe dry air alongside the fan.
Once all parts are dry, reassemble the fan in the reverse order of disassembly. Carefully route wires to prevent pinching or bending, ensure components seat snugly, and tighten screws evenly but not excessively to avoid cracking. If your model has a locking base, rotate it clockwise to secure. Manage the power cord in its designated bracket to keep it tidy and safe. Before closing the remote sensor tabs, double-check they are properly aligned. Keep the fan unplugged throughout the process and only plug it back in once reassembly is complete and all parts are secure.

Super Absorbent:With a high quality short-pile microfiber design, these microfiber cleaning cloths are ultra Absorbent, very durable, They can easily absorb large amounts of liquid and wring out spills easily, perfect for wiping surfaces without leaving marks, Ideal for drying dishes and kitchen cleaning

Material and Size: This women shirt is made of cotton blend that is comfortable, lightweight and breathable. S=US(4-6), M=US(8-10), L=US(12-14), XL=US(16), 2XL=US(18-20). Please refer to the size chart before you place your order.

12-Piece Assorted Set: Includes 12 microfiber duster sticks in six colors, with two of each color. Each stick is approximately 10.2 in (26 cm) long, which are rugged and stable, and can clean narrow spaces and reach places that ordinary dust collectors can't reach
How Often to Clean Your Honeywell Tower Fan
Most Honeywell tower fans perform best with a light dusting every couple of weeks and a more thorough cleaning every 1 to 2 months for general households. Increase cleaning frequency if you’re in a particularly dusty environment or during heavy summer use. If you notice visible buildup or airflow diminishes, clean immediately to maintain efficiency. Using the right tools like a vacuum with a brush attachment can make light dusting much more effective. Models with washable filters can simplify maintenance by allowing you to rinse the filter directly rather than replacing it.
For daily users, a deeper clean every 3 to 6 months helps keep the fan running smoothly. Homes sensitive to allergens benefit from weekly quick dusting to reduce airborne particles. Remember, regular light cleaning is more effective and easier than infrequent heavy scrubbing. Check the grilles every 2 to 3 weeks using a vacuum brush or compressed air to prevent buildup. Maintaining a cleaning schedule aligned with your dust exposure will ensure your Honeywell tower fan stays efficient with minimal effort. Similarly, placing an air purifier in the bedroom can provide significant health benefits by continuously reducing airborne dust and allergens.