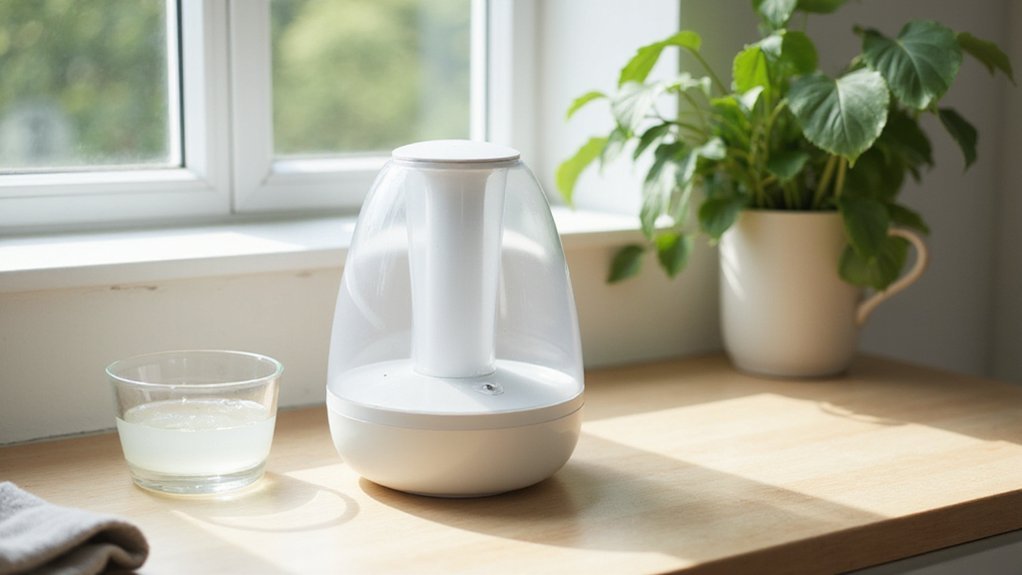
How to Clean Your Vicks Warm Mist Humidifier
Cleaning your Vicks Warm Mist Humidifier might seem like a hassle, but keeping it in top shape is key to healthy, humidified air.
Regular maintenance prevents mineral buildup and mold, ensuring your unit works efficiently and safely.
In this guide, you’ll learn simple steps to thoroughly clean and disinfect your humidifier, so it stays fresh and effective.
Why Regular Cleaning Matters for Your Vicks Warm Mist Humidifier
Regular cleaning is essential because stagnant water inside your Vicks warm mist humidifier allows bacteria and mold to multiply rapidly on moist surfaces. Without proper maintenance, these microbes can become airborne with the mist you breathe in, degrading air quality and potentially causing health issues. This microbial growth often produces musty odors that become noticeable whenever the unit operates. Inhaling contaminated mist means you’re also inhaling byproducts of decay, which can irritate your respiratory system. Compared to properly maintained window units, the humidifier requires more frequent cleaning to prevent the buildup that can harbor allergens. Selecting a model reviewed for cough relief can help ensure your humidifier supports respiratory health rather than aggravating it. For optimal air quality, consider how portable air conditioners differ in their maintenance needs and cooling performance.
Hard water minerals also deposit on the heater and internal components, forming mineral build-up. These deposits not only look unsightly but also create rough surfaces that encourage further microbial attachment. Over time, mineral scale coats the heating element, reducing its efficiency and forcing the humidifier to work harder. This results in weaker mist output and increased energy consumption. Continuous neglect of cleaning shortens the lifespan of your device and can turn it from a helpful health aid into a potential health risk. Regular cleaning, therefore, helps maintain optimal performance and ensures you breathe in safe, clean moisture. A weekly cleaning schedule is recommended for efficient operation of the unit.
Gather Your Supplies: Vinegar, Bleach, Soft Brush, and Gloves
To prepare for cleaning, gather four essential supplies: white distilled vinegar, household bleach, a soft-bristled brush, and protective gloves. Vinegar acts as your primary descaler, breaking down mineral scale in the heating chamber and water tray. Use about one cup of vinegar for every quart of water to ensure effective descaling. Household bleach is your disinfectant, and a typical ratio is one teaspoon per gallon of water to sanitize thoroughly. Before mixing any solutions, ensure the unit is unplugged and has cooled for at least 20 minutes to prevent burns or damage during handling. A bedroom dehumidifier often requires similar descaling to prevent mineral buildup.
A soft brush is crucial for reaching into crevices without scratching plastic components or the heating element’s coating. Always wear gloves when handling bleach or vinegar solutions to protect your skin from irritation. Keep your supplies organized and stored in a dry, accessible spot labeled clearly to avoid mix-ups between bleach and vinegar. Have clean water and a soft cloth ready for rinsing after cleaning.
Avoid using abrasive tools that could damage surfaces or coatings. Regularly replacing and properly storing your supplies will make future cleaning quicker and easier. Proper preparation ensures an effective, safe cleaning process with minimal risk of damage or irritation.

5% ACIDITY: Clear distilled white vinegar with a clean, sharp taste

One 16-fluid-ounce bottle of Distilled White Vinegar

5% ACIDITY: Clear distilled white vinegar with a clean, sharp taste
How to Disassemble Your Vicks Warm Mist Humidifier Safely
Unplug the humidifier and allow it to cool for at least 20 to 30 minutes before disassembly. Empty the water tank completely, then remove any medicine cup or accessory from the top. Locate the blue locking latch on the base, slide it forward to unlock, and lift the mist chimney straight upward without twisting. Next, lift the water tray from its tab and empty it immediately to prevent any water spillage.
Remove the heating element cover carefully, but wear gloves if the unit still feels warm to avoid burns. Keep all parts organized on a flat, water-resistant surface near a faucet to make reassembly easier and prevent loss. Following these steps during your regular maintenance schedule helps prevent damage. Additionally, adhering to proper disassembly procedures and troubleshooting tips ensures you do not force parts or move the unit when it is wet, safeguarding its longevity.
Descale Vicks Heating Elements With Undiluted Vinegar
To descale the Vicks heating element with vinegar, start by safely disassembling your humidifier. Pour undiluted cleaning vinegar directly into the base until the heating element is fully submerged. Do not dilute the vinegar, as Vicks recommends using full strength for effective cleaning. For light to moderate mineral buildup, soak the component for at least 20 minutes. If the scale is heavy or encrusted, extend the soak to several hours or overnight. For comparison, top portable air conditioners often require similar descaling to maintain performance. Before you begin, gather a soft-bristled brush and paper towels, and always check the manufacturer’s manual for specific disassembly steps to avoid damaging any parts. This soak helps break down hard water deposits that can clog the unit.
Make sure the unit is unplugged and turned off during this process to ensure safety. After the soak, use a soft-bristled brush to gently scrub away loosened mineral deposits. Avoid using abrasive pads or sharp tools, which can scratch the heating element. If stubborn residue remains, wrap a vinegar-soaked paper towel around the element and leave it for another 30 minutes. For routine upkeep, prevent mold growth by wiping down the water tank and base with a dry cloth after each use, which reduces the need for frequent deep cleaning.
When cleaning is complete, carefully empty the vinegar from the base and rinse thoroughly with water until no vinegar smell persists. Never submerge the entire unit in water or turn on the humidifier while it is still wet to prevent damage or electrical hazards.
Disinfect Your Vicks Humidifier After Descaling
After soaking, drain the water from the tank and rinse it thoroughly until the bleach smell is gone. Also rinse the mist chimney and the cover for the heating element to remove any residual cleaning solution. Empty and wipe dry the water tray with a clean cloth. Allow all parts to air-dry for 3 to 4 hours before reassembling the humidifier. Never mix vinegar and bleach to avoid hazardous reactions, and always wear gloves during cleaning to protect your skin. Wear gloves during the disinfecting process to protect your skin. For best results, consider a ceiling fan with light to improve air circulation during drying. To prevent mold and buildup in the future, clean your humidifier weekly when in regular use. Using a dehumidifier can also help deter centipedes by reducing the moisture they need to survive.
Clean the Vicks Base and Heating Element
Before cleaning the Vicks base and heating element, always unplug the unit and let it cool completely. Remove the water tank and any detachable parts so you’re only working with the exposed electrical base. To begin, fill the base reservoir with undiluted white vinegar for soaking until the heating element is fully submerged. Allow it to soak for at least 20 minutes, or overnight if there is heavy mineral buildup. This helps loosen mineral scale effectively. Positioning the base on a stable, level surface prevents spillage during the cleaning process. For apartments with hard water, this frequent maintenance is crucial to prevent rapid buildup that can affect your dehumidifier’s performance. A bedroom ceiling fan can help circulate the air and reduce overall humidity, lessening the strain on your humidifier.
While it soaks, gently scrub the heating element using a soft-bristled brush to remove loosened deposits. After soaking, empty the vinegar and rinse the base thoroughly with clean water to wash away any residue. Wipe the heating element with a damp paper towel until all mineral deposits are gone. Avoid using metal tools or abrasive materials that might scratch or damage the coating. For optimal airflow and moisture distribution, consider how fan performance complements the humidifier’s output in a small space.
Once all parts are cleaned, let everything dry completely—this prevents electrical issues before reassembly. Never submerge the entire base in water, as water and electricity are a dangerous combination.
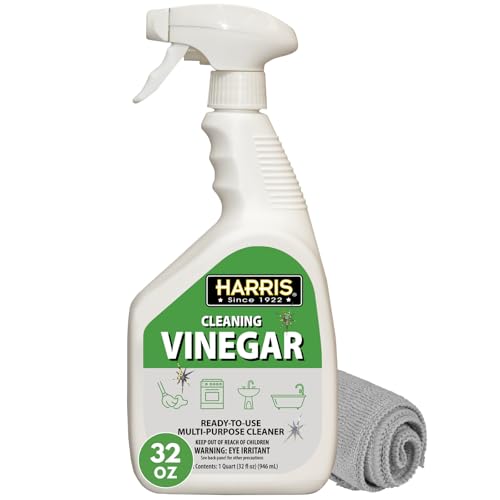
Pre-Mixed & Ready To Use: This effective & easy vinegar spray bottle powerfully cuts through grease & grime—no diluting required

Aunt Fannie's Extra Strength All Purpose Cleaning Vinegar: Contains distilled white vinegar specifically formulated for cleaning with 6% acidity; No added scents, dyes, or other additives

MULTIPURPOSE HOME CLEANER - This is a truly versatile vinegar for cleaning your home, kitchen and bathroom that works on tons of different surfaces including toilets, countertops, tile floors, and even clothes and towels.
Clean the Vicks Water Tank, Chimney, and Accessories
Unplug and let the unit cool for 15 to 30 minutes before starting the cleaning process. Remove the water tank and drain it completely, then take off the cap. Fill the tank with about 1 cup of undiluted white vinegar. Swirl to wet the entire inside surface, then let it sit for 20 minutes. Empty the vinegar and rinse repeatedly until the vinegar smell is gone. For stubborn scale, scrub with a soft brush. Remove the mist chimney and medicine cup, wiping them with a vinegar-dampened cloth. The cleaning should be performed near a faucet on a flat surface to prevent spills and ensure easy rinsing. Rinse all parts thoroughly until no vinegar odor remains, then dry them with a clean cloth. Allow everything to air-dry briefly before reassembling the unit.
Prevent Scale in Your Vicks Humidifier With Distilled Water
Using distilled water is the most effective way to prevent scale buildup in your Vicks humidifier. Since scale forms when tap water evaporates and leaves minerals behind, switching to distilled water significantly reduces the white crusty residue that accumulates. It contains far fewer dissolved calcium and magnesium ions, which are the main contributors to limescale. This means less frequent descaling of the heating element and chamber, maintaining the humidifier’s efficiency and prolonging its lifespan. Smart thermostat maintenance similarly depends on using the right water type to avoid mineral deposits that can clog internal sensors and reduce performance. Using distilled water also lowers overall operating costs by reducing the energy draw caused by mineral buildup on heating elements. For persistent odors, placing a high-quality dehumidifier near the humidifier can help address musty smells caused by excess moisture in the air.