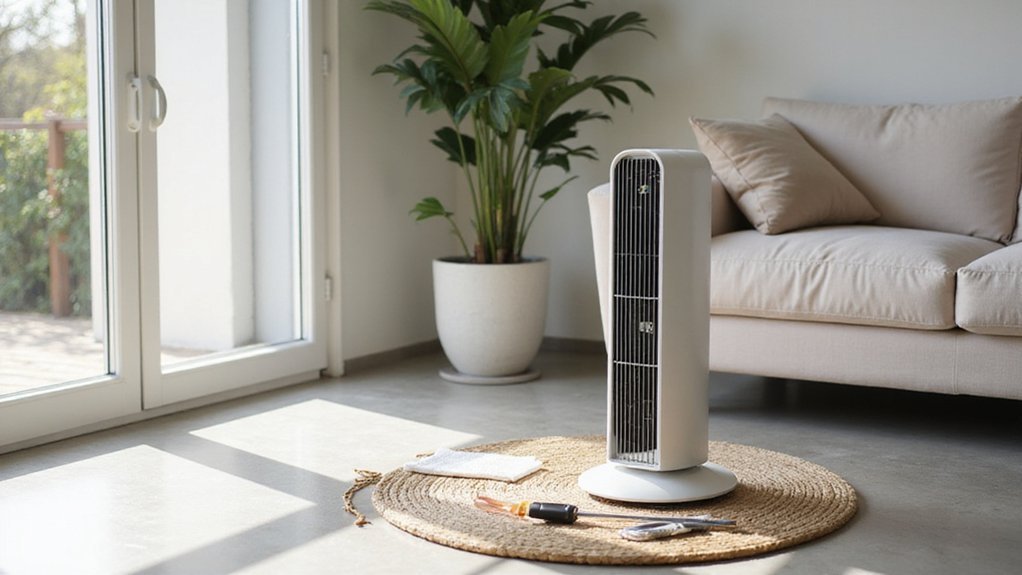
How to Clean a Tower Fan
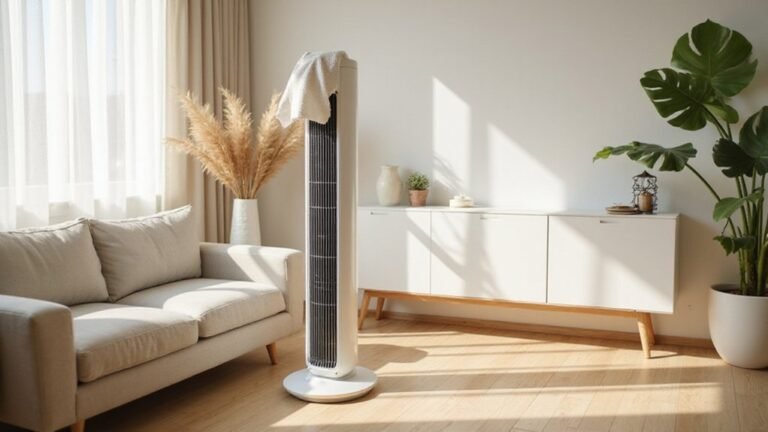
If your tower fan isn’t cooling as well as it used to, dirt and dust might be the culprit. Regular cleaning can restore its efficiency and keep the air fresh.
By the end, you’ll know simple steps to remove dust from the vents, blades, and filters, helping your fan run smoothly for years to come.
Ready to learn how to give your fan a thorough clean?
Why Tower Fan Cleaning Boosts Performance and Air Quality
Cleaning your tower fan regularly is crucial for maintaining optimal performance and air quality. Dust, hair, and other debris can clog the internal pathways, causing a significant drop in how effectively the fan circulates air. When these obstructions build up, you may notice the fan struggles to cool as efficiently, even at higher settings. Regular cleaning keeps these pathways clear, enabling the fan to move air more smoothly and deliver stronger cooling at lower speeds.
A clean fan also enhances air filtration. Debris inside the unit can recirculate allergens and particles, reducing indoor air quality. By removing dust and grime, you prevent these contaminants from blowing back into your room, creating a healthier environment. For those seeking even better air quality, models that combine air cleaners with humidifiers offer a more comprehensive solution for managing indoor pollutants and moisture. Additionally, reducing indoor humidity with a dehumidifier can discourage pests like centipedes from thriving in your home. Unlike traditional fans, bladeless models rely on an air multiplier effect to generate smooth, uninterrupted airflow without obstructed blades.
Furthermore, dirt buildup strains the motor, leading to louder operation and vibrations. Cleaning reduces this strain, resulting in quieter, smoother function. Regular maintenance also minimizes the risk of overheating and mechanical wear, which can extend your fan’s lifespan. Performing cleaning outdoors if possible provides better ventilation and safety by allowing dust to disperse away from your living space.
In essence, keeping your fan clean restores its performance, ensures better air quality, and keeps it running quietly and efficiently.
Tools and Supplies for Safe, Effective Fan Cleaning
Having the right tools makes fan cleaning safer and more effective. Start with a vacuum equipped with a brush attachment to remove surface dust easily. A microfiber cloth helps wipe down accessible parts without scratching surfaces. Use a can of compressed air and a soft-bristle brush to dislodge compacted debris from tight vents—this reduces fan noise and boosts air flow. Creating your own simple reed diffuser at home follows a similar principle of using absorbent materials to distribute solution evenly. Cotton swabs and pipe cleaners are ideal for reaching small gaps and cleaning buttons. Tweezers can help pull out hair and lint near moving parts without disturbing delicate components. A flashlight helps you see inside the housing clearly, so you don’t miss hidden dust. For removable parts, use mild dish soap and warm water for cleaning—avoid harsh chemicals and excessive moisture to prevent damage. All parts should be cleaned before reinstallation for optimal operation. Always unplug the fan before disassembly. A screwdriver set and your user manual ensure safe removal of covers and blades, preventing damage and restoring quiet, efficient operation. If you are considering an alternative, bladeless fan models are often easier to maintain due to fewer exposed crevices for dust buildup. This design advantage stems from the fan’s use of air multiplier technology to generate consistent airflow without rotating blades.

[Fits Most 1 1/4 inch Vacuums]Designed to fit most standard 1.25 inch vacuum hoses and wands, this horse hair vacuum attachment is compatible with many canister, upright, and...
How to Clean Your Tower Fan’s Exterior and Vents
Unplug the fan to ensure safety before cleaning. Start by vacuuming the vent slits with a brush attachment, keeping the nozzle close to gently remove debris without pushing dirt further inside. Unlike standard fans that only stir air, air circulators are designed to move air throughout the entire room, which means their vents may trap more deeply embedded dust over time. Using a humidifier for dry mouth can also help alleviate dryness, but its mist output may add moisture to nearby dust, making it cling more stubbornly to fan vents. Use short bursts of compressed air to loosen stubborn grime or dust particles that cling to the vents. For tight gaps around the vents, a soft-bristled brush or cotton swab works best to dislodge stubborn dirt. If your tower fan features a washable pre-filter, check the manual for removal steps, as this component often requires separate rinsing during routine upkeep.
Next, wipe the fan’s exterior with a barely damp microfiber cloth, avoiding any direct spraying of water on the unit. For the control panel, use a dry cloth to prevent moisture from reaching electronic components. If there are sticky marks on the surface, lightly clean them with a cloth moistened with mild soap. Finish by wiping again with a dry cloth to remove any residual dampness, working from top to bottom so dust doesn’t resettle. Choosing a model with high energy efficiency can reduce long-term operating costs, making regular cleaning of its vents even more worthwhile for maintaining airflow performance.
Allow all parts to dry completely before plugging the fan back in. Proper drying prevents electrical issues and keeps your fan functioning safely and efficiently. For minimal dirt, this surface cleaning alone is often sufficient, but for a deeper clean, consult your manual for disassembly guidelines if your model allows opening, as some units are not meant to be opened and doing so risks voiding the warranty.

Efficient cleaning: This set includes 3 bendable fan dusters with microfiber heads, fan cleaner allowing you to easily remove dust and dirt from ceiling fans, floor vent fan,air conditioning vents, curtains, and more.

【Size and Quantity】You will receive 12 feather dusters, with 6 colors: red, orange, green, light blue, blue, and rose red. There are two of each color. The sufficient quantity and rich colors can easily meet your various gap cleaning needs.
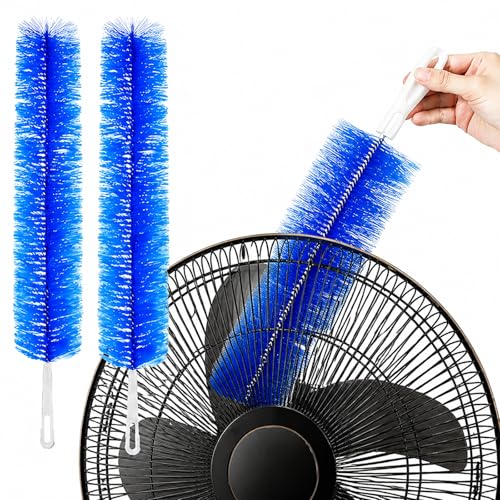
Easy Operation: Clean dust and pet hair from fans and grills without disassembly. Reusable and washable; built-in hanging hole for convenient storage.
How to Clean Deep Inside the Fan Grille
To clean deep inside the fan grille, start by removing the rear grille or access panel if possible. This allows you to reach the blades and interior surfaces directly. Use a vacuum with a brush attachment to gently pull loose dust from the blades and surrounding areas. For stubborn grime, compressed air or a soft paintbrush can help loosen dirt before vacuuming. Cotton swabs are effective for narrow grooves and tight spots. For internal walls, a dry microfiber cloth will remove dust without risking damage. Always unplug the fan before starting, and avoid using water near the motor. Lightly dampen cloths only when needed and ensure everything is completely dry before reassembling. If your fan lacks removable parts, focus on vacuuming through vent slits and wiping accessible surfaces without disassembly. Tower fans often consume less energy than box fans, making them a lower running cost option for continuous use. To help prevent mold and buildup, regularly clean the fan every few weeks during heavy use. Unlike oil heaters, which are designed for steady, whole-room heating, tower fans focus on air circulation and are not intended to replace a primary heat source.

Fan Cleaner and Fan Duster Set: This set includes 2 bendable fan dusters with microfiber heads, easily removing dust and dirt from ceiling fans, floor fans, air conditioning vents, curtains and more for daily home cleaning.
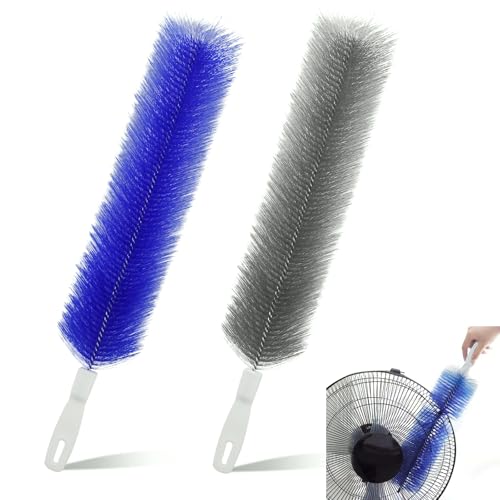
【Package Contents】You will get 2 microfiber duster cleaners, one grey and one blue for your replacement needs, the double set ensures you have reliable cleaning tools to switch back and forth to use.

Easy to Clean: The brush can be washed effortlessly, remaining clean and available for the next use.2PCS Fan Cleaning Brush Reusable Removes Dirt from Fans, Air Conditioning, Home, Car Vents Curtain and More
How to Disassemble a Tower Fan for Deep Cleaning
Unplug your tower fan and move it to a flat, open workspace for easier disassembly. Use a screwdriver set—many models use Phillips or Torx screws—and remove all visible fasteners, placing them in a container to prevent loss. Carefully pry apart the panels, watching for plastic clips that may snap or resist. Gently pull the housing apart, taking care not to force or break any tabs, and pay close attention to the routing of the power cord to avoid damaging it or misplacing it during reassembly. Always check the owner’s manual for model-specific guidance, as tower fan designs can vary significantly. Once the fan is open, you will have full access to the motor assembly for deep cleaning. Use a magnetized screwdriver to help pick up small screws that may fall into tight spaces during disassembly. For improved air quality, you may also consider using an air purifier with a washable filter to capture fine particles that a tower fan alone cannot remove. For a more comprehensive approach to moisture control, a bedroom dehumidifier can help reduce humidity that contributes to dust buildup.
When cleaning, use a soft cloth or brush to remove dust from internal components, paying particular attention to the motor and air pathways. Do not spray or pour liquids directly onto any parts. After cleaning, reassemble the fan by reversing the disassembly steps. Ensure the cord routing matches the original setup to prevent strain or damage. Tighten all screws until secure but avoid overtightening that could crack plastic panels. Finally, plug in and briefly test the fan to confirm smooth operation and ensure everything is correctly reassembled.

PROFESSIONAL DESIGN - Experience long-lasting performance with this comprehensive screwdriver set tool kit, perfect for every home improvement project and professional repair.

【TOP MATERIALS】: Professional screwdriver kit - Made of S2 Alloy Steel, high-end tool steel, the top material in screwdrivers. Excellent impact resistance provides ultra-high torque and hardness, and its strength and toughness and other comprehensive properties far exceed those of chrome vanadium steels.

Top quality magnetic screwdriver set, 10 professional grade screwdrivers that are designed to serve a multitude of uses.
How to Wash Removable Grilles and Filters Safely
To clean removable grilles and filters safely, always unplug the fan first and let it cool completely. Remove only the parts labeled as washable in your manual; do not get the motor housing or electronics wet. Wash the grilles with warm water and a few drops of mild dish soap. Use a soft toothbrush to gently scrub the slats and cotton swabs to clear out any crevices. Rinse thoroughly to remove all soap residue. Unlike space heaters, tower fans do not pose a risk of carbon monoxide poisoning because they do not burn fuel. Before starting any cleaning, refer to a Nest Smart Thermostat guide for best practices on properly disconnecting electrical components. A programmable thermostat offers similar scheduled temperature control but lacks the remote adjustment capabilities of a smart model.
For filters, begin by removing heavy dust using compressed air or a vacuum brush. Wash only the washable filters under running water after loosening debris. Never submerge or wash filters that are not designated as washable—replace them according to your maintenance schedule.
After rinsing, shake off any excess water and lay the parts on a clean towel in a well-ventilated area. If your manual allows, use a hairdryer on a cool setting to speed up drying. Avoid applying heat that can warp plastic. Reinstall the parts only once they are completely dry; damp components can cause electrical damage and reduce airflow efficiency. Regular cleaning of grilles and filters helps maintain optimal fan performance and reduces dust buildup.

𝗢𝗻𝗲 𝗙𝗮𝗻 𝗳𝗼𝗿 𝗔𝗹𝗹 𝗬𝗼𝘂𝗿 𝗡𝗲𝗲𝗱𝘀: From a gentle breeze to a powerful wind, it adapts to your everyday needs with up to 28 ft/s airflow and a wide oscillation angle to deliver fast, whole-room cooling

𝙃𝙮𝙥𝙚𝙧𝙛𝙖𝙨𝙩 𝙒𝙞𝙣𝙙 𝙎𝙥𝙚𝙚𝙙𝙨: Built to perform in large spaces, the Tower Fan 519 brings large 42" bladeless tower fan for bedroom performance with 28 ft/s fast winds and a massive 1397 CFM of air volume, giving you all the wind you need in an isntant

Reduce energy costs: Save on your air conditioning bill this summer when you combine your Honeywell tower fan with your A/C; set your air conditioner at a higher temperature but still feel cool & comfortable
How to Dry, Reassemble, and Keep Your Fan Clean Longer
Make sure every part of your fan is completely dry before plugging it back in. Use air-drying on a towel in a sunny spot or a cool-setting hairdryer for crevices, provided your manual allows it. Wait at least 15 to 30 minutes, but give several hours for internal moisture to evaporate—residual water can cause electrical shock or damage. For optimal results, consider placing the fan in a low-humidity, well-ventilated area to speed evaporation. This will also help prevent mold and buildup on internal components.
Only proceed with reassembly when all components—grilles, blades, housing—are fully dry. Return screws and covers to their original positions to ensure proper alignment. Carefully check seams and vents for trapped moisture. Test the fan briefly to ensure smooth airflow before using it regularly. To maintain a clean and efficiently running fan, perform light maintenance every 2 to 4 weeks. Wipe the exterior with a microfiber cloth, vacuum vents, and use compressed air to clear tight spots. Keep your fan in a low-dust area, unplug it before cleaning, and prevent water from reaching the motor. These habits will extend the interval between cleanings and help keep your fan operating efficiently longer.