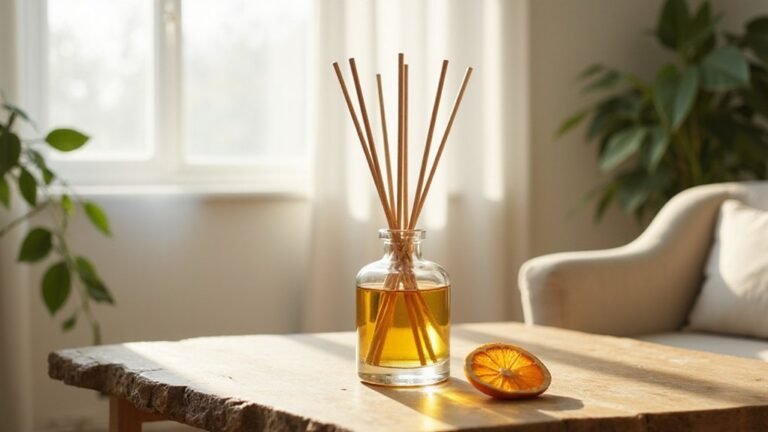
DIY Reed Diffuser: How Does It Work?
Have you ever wondered how a DIY reed diffuser actually works? It’s simpler than you might think—by using porous rattan reeds to draw scented oil up through capillary action and releasing fragrance into the air via evaporation.
With some basics, you can create a custom scent that fills your space just right. Keep reading to learn how to perfect your diffuser and troubleshoot common scent issues.
How Does a Reed Diffuser Actually Work?
Reed diffusers work through capillary action, which allows the liquid fragrance to be continuously drawn up the reeds without any moving parts. Your reeds absorb the scented liquid through tiny internal channels, then release it into the air as vapor. The material of the reeds plays a key role—natural rattan is ideal because of its porosity, ensuring a steady flow, while synthetic reeds can change the flow rate and scent release speed. Different fragrance formulas move at varying speeds up the reeds: alcohol-based liquids rise quickly and evaporate fast, creating a strong initial scent burst, whereas non-alcohol liquids climb more slowly and last longer, producing a milder, prolonged aroma. The quality of the reeds and the viscosity of the liquid determine the diffuser’s overall performance. If the reeds become clogged, the scent output diminishes, and you’ll need to replace them to restore effective capillary flow. You can adjust the scent intensity simply by increasing or decreasing the number of reeds and choosing the appropriate liquid formulation. For optimal airflow in a small room, pairing your diffuser with an efficient cooling system can help maintain a comfortable environment. A typical 1 oz. mixture with 6-8 reeds lasts approximately 2 to 3 months for steady performance. For best results, place the diffuser in an area with stable air circulation to avoid rapid evaporation or stagnation. Similar to how a space heater relies on convection and radiation to transfer heat, a reed diffuser depends on capillary action and evaporation to distribute fragrance.
What You Need to Make a DIY Reed Diffuser at Home
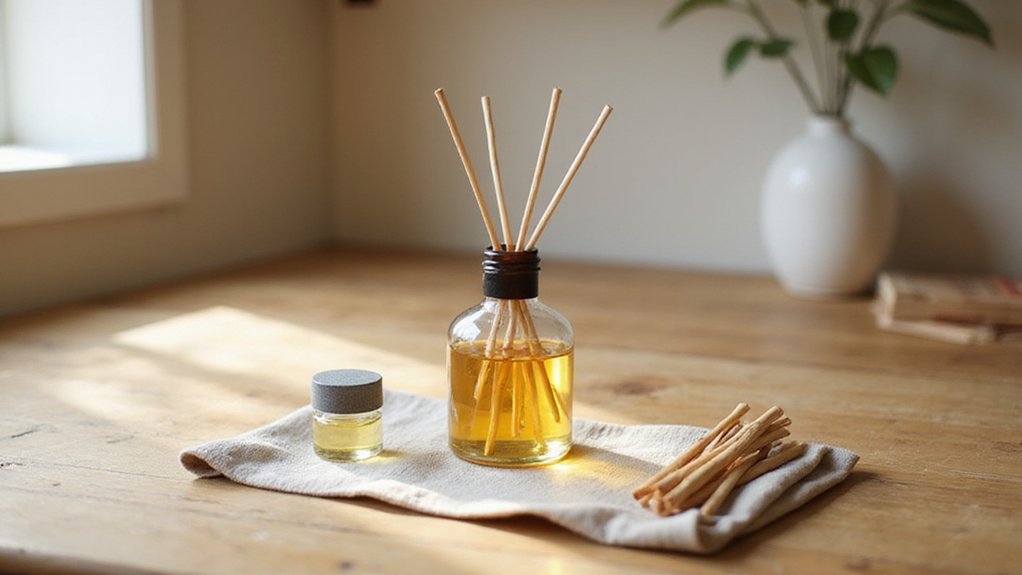
To make a DIY reed diffuser at home, start by selecting a glass container with a narrow neck. This design helps reduce evaporation and keeps the reeds upright. You can choose a small bottle or recycled jar that matches your decor, but avoid plastic containers. Use 5 to 10 rattan reeds, as this range provides optimal capillary action to disperse the fragrance effectively. For the liquid base, options include ethyl alcohol, vodka, or a light vegetable oil like sunflower or fractionated coconut oil. Add 15 to 30 drops of your preferred essential or fragrance oil, adjusting based on how strong you want the scent to be. Consider the size of your bedroom when choosing the reed count and oil amount, as a larger space may need more reeds for adequate scent distribution. To make filling easier, use a funnel for the narrow opening, and consider wearing gloves or adding decorative labels for a polished look. Always position your diffuser away from heat sources and out of reach of children and pets to reduce fire and ingestion risks. For a similar function, an essential oil diffuser can also be used to humidify a room if cleaned properly.

❀[Versatile Use]: The reed diffuser bottle set is versatile - you can use your own essential oils and customize the scent to your liking. They're ideal for adding a touch of aroma to homes, hotels, showrooms or offices and can be used for events,weddings, birthdays,parties or relaxation practices like Spa and Meditation. Works great as a diffuser or as any innovative decor for your space.

Made of glass material. Its heavy bottom, sturdy and reusable

Ideal Compact Size: This diffuser bottle measures 3.0" tall × 3.6" wide, with a 200ml capacity. The compact size fits easily on shelves, desks, or bathroom counters without taking up too much space
How to Mix Scent Oil and Base for a Stronger Reed Diffuser
To achieve a stronger scent in your reed diffuser, mix your fragrance or essential oil with the base at a concentration of 15% to 25% of the total volume. This range provides a noticeable diffusion without overwhelming the space. For an even more intense aroma, you can increase the oil content to 25%–30%, but always verify that your base can handle this higher concentration without affecting performance or safety. Pre-mix your oils in a separate container, stirring gently until they are fully dissolved—avoid vigorous shaking, which can create bubbles that interfere with proper diffusion. Maintaining clean reeds and replacing them regularly ensures consistent scent throw, similar to how a filter requires periodic changes for optimal performance.
Good fragrance blending involves balancing the top, middle, and base notes to ensure a lasting and well-rounded scent throw. If your scent still feels weak after mixing, slightly increase the oil percentage within recommended safety limits, ensuring you do not exceed the manufacturer’s IFRA guidelines. Always use a dedicated reed diffuser base rather than generic carrier oils, as special bases support better capillary action and enable stronger diffusion. Proper airflow in the room also plays a role in how effectively the scent disperses, much like a dehumidifier’s performance depends on adequate circulation. For a more consistent fragrance experience, consider using a dedicated reed diffuser base that is specifically formulated for optimal capillary action.

UNSCENTED REED DIFFUSER BASE: High-quality reed diffuser base unscented, designed to carry fragrance without altering scent profiles. Ideal diffuser base for consistent, clean scent throw.

Our Reed Diffuser Base transforms fragrance and essential oils into reed diffuser oils. It thins fragrance and essential oils so they flow up the reed easily and provide a bigger scent payoff. Many of our fragrance and essential oils are safe for use in reed diffusers.

Our Reed Diffuser Base transforms fragrance and essential oils into reed diffuser oils. It thins fragrance and essential oils so they flow up the reed easily and provide a bigger scent payoff. Many of our fragrance and essential oils are safe for use in reed diffusers.
How to Set Up and Maintain Your Reed Diffuser
To set up your reed diffuser, start by removing the stopper and carefully inserting the reeds one at a time to prevent spills. Spread the reeds apart to allow better airflow, which helps distribute the fragrance more evenly. Flip the reeds immediately after insertion to saturate the wood quickly, then allow the fragrance to develop for up to 48 hours. For ongoing maintenance, rotate the reeds every few days; flipping more frequently will give a stronger scent but will also use the oil faster. You can control the scent intensity by flipping only some of the reeds at a time, creating a lighter refresh. During each flip, keep the reeds separated to maximize evaporation and avoid clogging. If residue builds up at the bottle opening, wipe it clean to ensure proper airflow. Always place your diffuser on a stable, non-porous surface to prevent damage or spills. For your reed diffuser, following a DIY reed diffuser cleaning routine helps prevent buildup and ensures consistent fragrance release. Replace the reeds or refill the oil once the scent weakens to keep your space smelling inviting. Diffusers are particularly convenient during hot weather because they do not require electricity or matches unlike scented candles. Unlike space heaters, reed diffusers pose no fire risk since they rely on evaporation rather than electrical heating elements. This passive evaporation process is similar to how bladeless fans use airflow amplification rather than exposed blades.

Clean Linen Scent: Keep it clean with air. Crafted with notes of Crisp Air, Fresh Laundry and Lily of the Valley, this fragrance is masterfully designed to give you all the fresh feels.

Scent: It blends the sensual aromas of vanilla, tonka bean, and amber, as if embracing you in your arms. The addition of coconut, marshmallows, and cookie adds a lot of vitality to it, bringing a relaxed and pleasant feeling.

White Jasmine - A scent having the scent of alluring white jasmine and rich and gentle scent unique to tuberose at the same time.
Why Your Reed Diffuser Smells Weak – and How to Fix It?
A weak reed diffuser scent usually starts with the oil itself. If the carrier oil has low volatility, it may not evaporate properly, which blocks the fragrance from dispersing. Using oils with insufficient fragrance concentration dilutes the scent throw; gradually increase the oil-to-fragrance ratio to enhance intensity. Low-quality or incompatible oils can also hinder diffusion; switching to 100% pure essential or fragrance oils often results in stronger, longer-lasting scent performance. For example, choosing a diffuser with a larger surface area for evaporation can mimic the efficiency of a portable or window AC unit that uses airflow to circulate air evenly. Similar to how a bedroom ceiling fan uses airflow to circulate air evenly, the movement of air around your diffuser can significantly improve scent distribution. Choosing a humidifier filter for your home can also help maintain optimal humidity levels that support consistent fragrance release.

Upscale Hotel Diffuser Oils Collection: ARVIDSSON hotel fragrance oil set has super fresh and luxe scents, definitely captures the essence of “fancy hotel-lobby”. These wonderful scents include Luxury Night, Jasmine & Mint, White Tea, Citrus Bliss, M-Way and Hotel Lobby

Compact and Versatile - Our small oil diffuser is designed to be compact and versatile, making it suitable for various spaces and lifestyles. Aromatherapy diffusers sleek and portable design allows you to easily move it from room to room, enabling you to enjoy aromatherapy wherever you go. Whether you want to create a soothing ambiance in your bedroom, living room, office, or even during travel, an aroma diffuser is a nice choice.

Fresh Home Set (10mlx6): Experience the clean and freshening scents of our Fresh Home Essential Oil Set- Fresh Linen, Clean Home, Fresh Laundry, Crisp Breeze, Pure Soap and Lemon, each 10ml bottle delivers a clean, airy aroma that instantly freshens any space-perfect for summer or creating a clean, inviting home atmosphere