How to Clean a Homedics Ultrasonic Humidifier
If your HoMedics ultrasonic humidifier isn’t working as well as it should or just needs a good refresh, cleaning is key. Properly cleaning your device helps it function better and lasts longer.
In this guide, you’ll learn how to clean your humidifier step by step and ensure it stays in great shape.
Keep reading to get the full instructions.
Start With Proper HoMedics Humidifier Cleaning for Longer Life
Always power off and unplug your HoMedics humidifier before disassembly to prevent damage and ensure safety. Start by removing the water tank to access the reservoir, then carefully empty all remaining water from both parts. Open the access panel gently—do not force anything—so you can reach the ultrasonic membrane. Additionally, dry the base unit’s vents thoroughly to prevent splash damage to electronic components. For rooms with persistent moisture issues, pairing your unit with a dehumidifier for centipedes can help control the humidity levels that attract these pests. To ensure optimal airflow, position the unit away from walls and furniture as recommended in the portable air conditioner placement guide. For further guidance, consider comparing the best window air conditioners for similar maintenance tips on cooling units.
Dry the tank and base thoroughly after draining. This step is crucial because moisture promotes mineral deposits and bacterial growth, which can reduce the unit’s lifespan and efficiency. Focus especially on the ultrasonic membrane, which is your main target for mineral scale buildup.
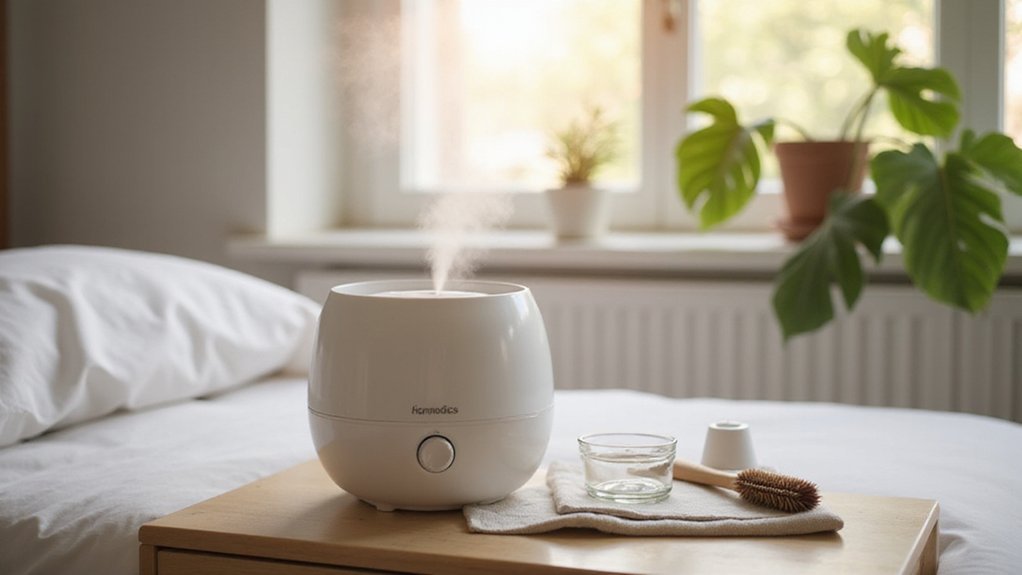
Apply a mixture of equal parts white vinegar and water directly to the membrane using a cotton swab or soft brush. Gently work the solution into any deposits without applying excessive pressure. Never touch the membrane with your fingers, as skin oils can damage it. After loosening the deposits, rinse or wipe the area with plain water to remove any vinegar residue. Regular cleaning of the ultrasonic membrane prevents performance issues and keeps your humidifier running smoothly.

This small cleaning brush set includes eight different brushes—crevice, bottle, gap, corner, edge, groove, detailing, track and hole brushes. Designed to tackle various cleaning tasks, it efficiently removes dirt from small and hard-to-reach spaces.

Humidifier Cleaning Solution:Still looking for a cleaning tool that can thoroughly clean your humidifier? Come and try our humidifier cleaning brush set!The nylon brush cleans the stains on the base, the sandpaper brush powerfully removes the severe scale at the bottom, and the long brush can easily reach the air outlet and the interior of the water storage tank, thoroughly cleaning every corner of the humidifier in all aspects, making your humidifier look brand new and more reassuring to use.

Continuous cleaning: This humidifier water filter cartridge helps keep your humidifier cleaner longer
Gather Vinegar, Soft Cloths, and a Cotton Swab
Gather vinegar, soft cloths, and a cotton swab for effective cleaning of your humidifier. Use soft cloths or microfiber towels to wipe accessible surfaces and dry everything after rinsing. These materials help prevent scratches on plastic and electronic parts. For tight crevices, a cotton swab is essential. Dampen the cotton swab with the vinegar-water mixture and gently clean the edges of the transducer and narrow channels. Apply gentle pressure to avoid damaging the delicate membrane. Do not submerge the electrical base in any liquid. To maximize your experience, avoid using tap water which can leave mineral deposits that reduce performance. Keep extra dry cloths nearby for a final wipe-down, ensuring all areas are thoroughly dried. This simple kit allows you to clean your humidifier effectively without using harsh chemicals. Soaking all small pieces in a vinegar water solution helps loosen slime and deposits before scrubbing. For best results, follow these steps after each use to maintain optimal performance and longevity. Always unplug the unit before cleaning to reduce the risk of electric shock.
How to Disassemble and Drain Your HoMedics Humidifier
Before disassembling your HoMedics humidifier, ensure it is fully powered off and unplugged. Never attempt to disassemble it while still plugged in or warm, as this increases the risk of electric shock or damaging internal components. Allow the unit to cool completely to prevent burns or damage.
Start by lifting the water tank off the base; expect residual water inside that needs to be drained. Empty the tank into a sink and then tilt the base to drain any standing water completely. This step is crucial to prevent water from splashing into the mist path during cleaning. Be cautious of water dripping from the mist tube during tipping. Unlike ultrasonic models, evaporative humidifiers use a wick filter instead of a vibrating disc, so understanding the difference in working mechanisms helps clarify why thorough cleaning is essential for ultrasonic units to prevent mineral buildup.
Next, remove visible screws using a small Phillips-head screwdriver. Keep track of the different screw sizes by organizing them in a small container or on a magnetic tray. Gently pry off covers held in place with clips using a plastic opening tool to avoid damaging the plastic.
Once the covers are removed, pop off the mist tube cap to access the internal channel. If your model has a control panel that is detachable, carefully remove it following the manufacturer’s instructions. Proper disassembly helps maintain airflow and prevents mineral deposits from building up, which can hinder mist output. Ensuring complete drainage and clean internal parts also supports the long-term performance of sensors and LEDs by keeping internal electronics dry. Reassemble the unit carefully in reverse order after cleaning.
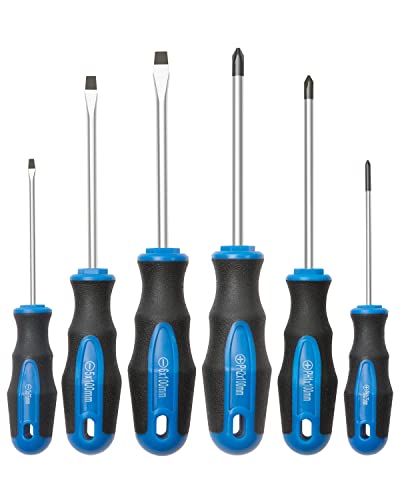
DURABLE SHAFTS - made of heat-treated CR-V steel for enhanced durability, rust resistant and anti-corrosion.
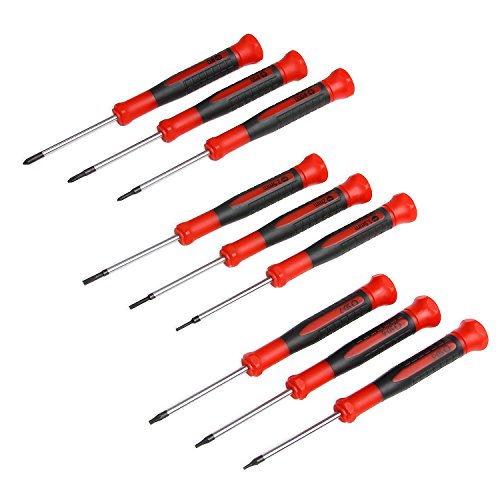
High strength chrome vanadium steel shafts reduce wear-outs and stripping for longer tool life

IMPROVED DURABILITY and FIT: Black Oxide Tip provides improved durability and grip without compromising tip fitment
Deep-Clean the Tank and Reservoir the Right Way
To deep-clean the tank and reservoir effectively, follow this routine. Empty the water tank daily before refilling to prevent residue buildup. Rinse the interior thoroughly with clean water, including the cap if it’s removable. For a weekly deep-clean, prepare a mixture of equal parts white vinegar and lukewarm water. Swish this solution inside the tank and let it sit for 15 to 20 minutes to break down mineral scale. After soaking, pour out the vinegar solution and rinse thoroughly with room-temperature water until the vinegar scent disappears. Be sure to also clean the reservoir by emptying it, rinsing with plain water, swirling it halfway full, then dumping it out along the drain direction to remove any debris. Dirty tanks and ultrasonic membranes cause build-up that decreases efficiency and can worsen air quality. For appliances with a fan component, similar mineral scale can cause noisy operation if not addressed. Addressing mineral buildup in window air conditioners also helps restore cold airflow and quiet operation. Using the right tools like a soft-bristled brush helps prevent damage to sensitive internal components.
Consistently following this cleaning schedule prevents stubborn buildup. Use only safe materials such as a soft cloth, cotton swabs, or a soft brush. Avoid abrasive scrub pads, harsh chemicals, detergents, or liquid soaps, as they can damage your unit. Never place parts in a dishwasher. After cleaning, dry the tank and reservoir completely with a soft cloth, and allow them to air out if necessary before reassembling.

【Deep Cleaning Power】 Effortlessly remove stubborn dirt from your humidifier with our advanced humidifier Cleaner Brush Set. Breathe fresher air while keeping your home healthy.
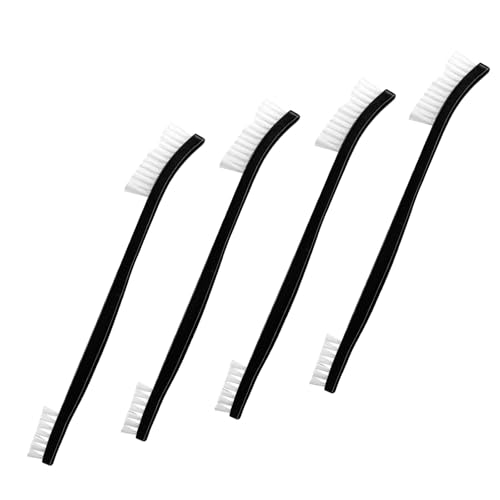
Package includes: you will receive 4pcs double-ended cleaning brushes. The total length of brush is 6.7 inches, with a large brush head of 0.47in and a small brush head of 0.31in. This size is perfect for efficient cleaning and allows easy access to tight places.

HIC Kitchen’s Soft-Tip Cleaning Brushes are specially shaped to reach into, and clean, narrow spaces and small detailed areas without scratching
How to Safely Clean the HoMedics Ultrasonic Membrane and Float
To safely clean the ultrasonic membrane and float in your HoMedics device, follow these steps carefully. First, always turn off and unplug the unit, then remove the tank and drain the reservoir to prevent water damage. For the ultrasonic membrane, avoid using detergents or scraping with hard objects, as they can damage the surface. Instead, prepare a mixture of equal parts white vinegar and water and dip a cotton swab into it. Gently apply the solution to the membrane, especially if you notice the red clean-transducer LED light up or performance issues. Let it sit for five to twenty minutes to loosen mineral deposits, then gently wipe the surface with a clean, damp cloth. Be cautious not to touch the membrane with your fingers or use alcohol, as these can cause damage. After cleaning, replace the transducer cover securely. You must locate the reset button and hold it until the warning light turns off to fully reset the clean indicator. If you encounter similar mineral buildup in other appliances, top vertical window air conditioners often include features to simplify maintenance as well. For optimal long-term performance, consider the humidistat settings common in dedicated dehumidifier units to better control moisture levels. Using quality aromatherapy oils can also enhance the air quality experience after cleaning your device.
For the float, focus on the hinge area where mineral buildup can interfere with proper movement. Use the same vinegar solution and a cotton swab or soft brush to carefully remove any calcified deposits. Rinse the area with clean water afterward to ensure no residue remains. Always perform cleaning only when you see visible buildup or notice performance issues, and never force or scrape parts.
Rinse, Dry, Reassemble, and Reset
After the vinegar treatment, thoroughly rinse the water tank and reservoir with clean water, swishing a small amount inside and pouring it out along the unit’s drain direction. Don’t forget to rinse the tank cover and mist nozzle with room-temperature water. Repeat this process until no vinegar smell or residue remains, as leftover particles can re-enter the mist and impact air quality. To prevent mold and buildup, always use distilled water in your humidifier. Using a soft brush or cotton swab can help dislodge stubborn residue from the mist nozzle and crevices. For best results, avoid using abrasive cleaners that can scratch the plastic surfaces.
Next, completely dry all parts. Air-dry the tank and base on a vented surface, or use a soft cloth if your manual allows. Avoid rushing this step; residual moisture can trap minerals and odors that may damage moisture control. Never submerge the humidifier body in water.
Once everything is dry, reassemble the unit. Replace the transducer cover, re-seat the mist tube until it clicks securely, and place the water tank back. Refill with fresh, preferably distilled, water to prevent mineral buildup.
Finally, reset the clean indicator by pressing and holding the reset button for about three seconds until the light goes off. If the indicator remains illuminated, power-cycle the unit to complete the reset process.