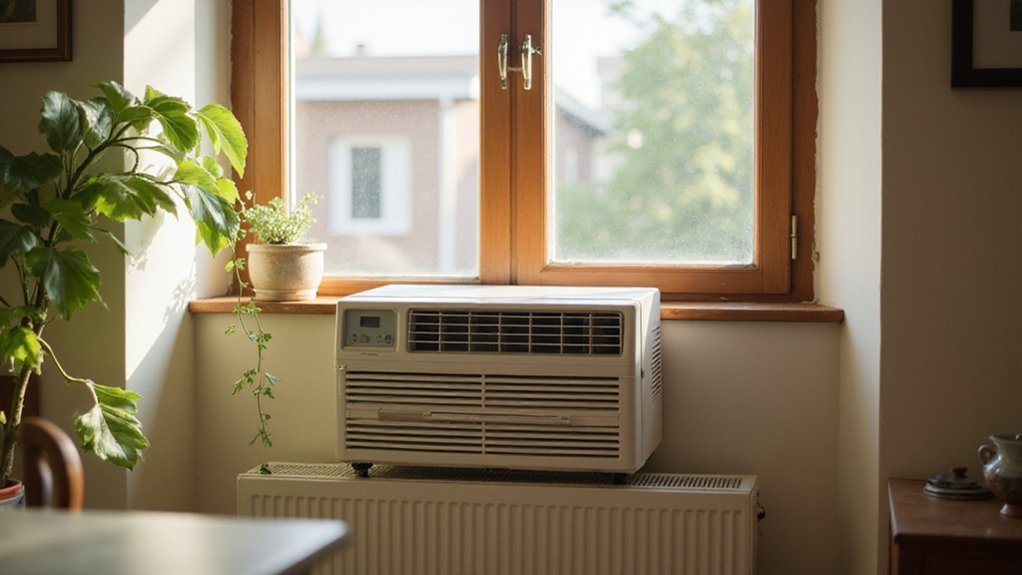
Window Air Conditioner Not Blowing Cold Air?
If your window air conditioner is running but not cooling, it can be frustrating. The good news is that many common issues are simple to fix on your own.
From clogged filters to frozen coils, understanding what to check can help you restore cold air quickly.
Keep reading to learn the key steps to get your unit back in chill mode.
Window AC Running but Not Cooling? Start With the Air Filter
Start by inspecting the air filter, as it’s often the reason your window AC isn’t cooling properly. Locate the filter behind the front grille or side panel, then remove and hold it up to the light. If you can’t see through it, the filter is clogged and needs cleaning or replacing. Rinse it gently with water, allow it to dry completely, and then reinstall. If the filter is torn, still blocked after washing, or excessively dirty, replace it immediately. For frequent use, check and clean the filter monthly. After cleaning, if you notice ice forming on the coil, shut off the unit, let it thaw, and restart with the clean filter in place to restore proper cooling. Just as with an oil diffuser, a clean filter helps maximize essential oil diffusion by allowing consistent airflow. When cleaning components like the filter, using a soft brush or mild detergent can help prevent mold buildup and maintain air quality. Neglecting filter maintenance forces the AC to work harder, increasing energy use and potentially shortening the unit’s equipment lifespan. Choosing a unit with top-rated performance ensures you get reliable cooling without unnecessary strain on the system.
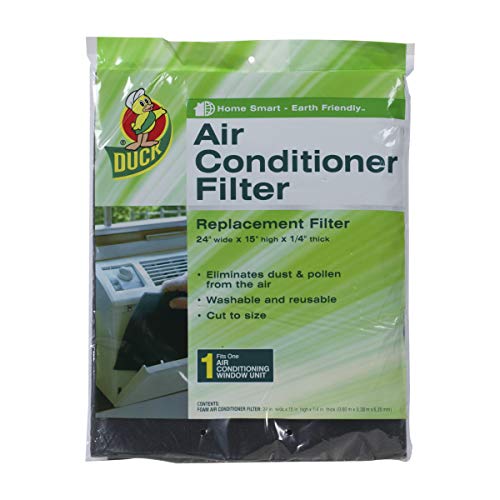
Eliminates dust and pollen from the air

Manufacturer: THERMWELL

Air Conditioner Replacement Parts Number : WJ85X21746 for GE window AC filter replacement replaceable ac filters AP6280063,4588851, A0010209471,PS12171954 window air filter for GE room air conditioner. For ge window air conditioner filter provide you with more comfortable service and better experience when using air conditioners.
Fan Running but Air Warm? Clean the Coils and Fins
To resolve warm air blowing from your unit despite the fan running, cleaning the coils and fins is essential. Start with a thorough inspection of the coils—look for visible dust, lint, or grime on their surfaces. Use a vacuum with a soft brush attachment or compressed air to gently remove debris, taking care not to damage the delicate fins. This process helps improve heat transfer by removing the insulation-like buildup that hampers efficiency. A restricted airflow or dirt build-up are common internal causes of this warm air issue. For long-lasting performance, choosing top picks from reliable reviews can help ensure your unit is built to handle frequent cleaning needs. Similar maintenance principles apply to other appliances where excess moisture can accelerate dirt accumulation on components. Maintaining low indoor humidity with a quality dehumidifier also discourages pests like centipedes that thrive in damp conditions.
After cleaning, don’t forget to check the fins for bends. Bent fins narrow the airflow passages, which restricts how much air can pass over the coil. Carefully straighten bent fins using a fin comb, working gently to avoid causing additional damage. Properly maintaining both the coils and fins ensures effective heat exchange and can restore cool airflow, helping your unit operate more efficiently. Always disconnect power first and allow everything to dry completely before reassembling. When done correctly, you should notice a significant improvement in airflow temperature.
Frozen Coils? Let It Thaw Completely Before Restarting
If you see ice on the evaporator coil, turn the unit off immediately and do not attempt to restart or cool again. Allow the coil to thaw completely before proceeding. Thawing can take from 1 to 3 hours for light ice buildup, and up to 24 hours for more severe accumulation. During this time, switch the fan to “On” so it continuously moves air across the coil, speeding up the thawing process. This method works by allowing the slow release of moisture control in the indoor air to prevent rapid melting. Avoid chipping or scraping the ice, as this could damage the delicate fins or cause refrigerant leaks. Hot water is also not recommended. Place towels or a pan beneath to catch any melting water. Do not restart the unit prematurely because it risks refreezing, which can lead to repeated shutdowns and potential damage. For added comfort during recovery, consider using a humidifier for cough relief to maintain consistent indoor humidity levels. A noisy fan motor can sometimes indicate an underlying issue with ice or vibration, much like the oscillating mechanism in a Dreo fan that may need cleaning to function smoothly. Patience ensures proper thawing and prevents bigger problems later. Using a portable space heater in the meantime can provide temporary warmth while the air conditioner is offline.
No Hum or Click? Check the Capacitor and Outlet Power
If your window AC unit produces no hum or click at all, the first thing to check is the electrical supply. Verify that the outlet is supplying power by plugging in a device you know works. Tripped breakers or damaged cords can mimic capacitor failure and are easy to overlook. If the outlet has power, turn off the circuit breaker before proceeding to avoid risk of electric shock. Discharge the capacitor safely—using a resistor or capacitor discharge tool—and then test it with a multimeter set to the microfarad setting. A good capacitor will read close to its rated value; no reading or a bulging appearance indicates failure. A slightly swollen top on the old capacitor confirms it is a common underlying issue affecting both the fan and compressor. Heat buildup and dirty coils stress the capacitor, causing silent failures that prevent the unit from starting. Replacing the capacitor often restores operation, but handle it carefully to avoid shocks. Extended use in damp conditions can cause excess moisture to accumulate, increasing the risk of mold growth inside the unit. If testing shows a good capacitor but the unit still won’t hum or click, the next component to examine is the fan motor. Always double-check the outlet because it’s a quick, free test to rule out electrical supply issues. For those using units in mobile environments like campers, consider a portable air conditioner specifically designed to handle vibration and lower power availability. The compressor relies on the capacitor to provide the initial high voltage needed to start the cooling cycle.
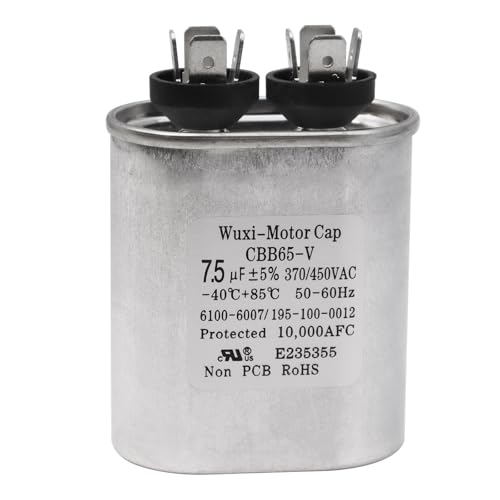
1499-546 capacitor Fits for Coleman 024-20063-000 12907 12931 27L695 27L695BX 70005318 CAP-7.5/440 C307 C307L C407 CR7.5X440 CPT00203 CPT01474 CPT0203 CPT-0203 CPT1474 CPT-1474 HCKS075V440999Z HC90BB007 IEC P291-0754 POCF7.5A TOCF7.5 and etc

1499-5461 Fan Capacitor Replace Air Conditioners Fit For Coleman RV Air Conditioner

【Compatibility】Designed to fit popular RV air conditioner models, this 3312195.000 motor capacitor is compatible with units like 57915.741, B595146, B59146, B59186, and B59196. (*Please confirm specifications before purchasing to ensure a proper fit.)
Hissing Sounds or Warm Air? Call a Pro for Refrigerant and Compressor Problems
If your AC is making a hissing sound or blowing warm air despite running, the problem most likely involves the sealed refrigerant system rather than electrical issues. A hissing or bubbling noise often indicates refrigerant leaks, which can lead to weak cooling, ice buildup on coils, or oily residue near connections. Low refrigerant levels usually don’t mean you simply need a top-off; they signal a leak or restriction that needs professional attention. Investing in a unit with high-quality filtration can reduce strain on the system, but it cannot fix a sealed-system failure. Unlike standalone air purifiers that only clean the air, the filtration in an AC unit is not designed to address refrigerant circuit integrity. Choosing the right ceiling fan color for your bedroom may improve airflow and comfort, but it has no impact on refrigerant or compressor performance.
Compressor failure can also cause warm air despite the fan operating. You may hear buzzing, clicking, or humming noises, or notice the compressor starting then shutting off repeatedly because it’s overheating. Dirty condenser coils or filters can contribute to this shutdown by increasing the compressor’s operating temperature. Severe dirt and mold buildup inside the unit also blocks airflow, which raises the compressor’s temperature and can worsen overheating issues.
It’s important not to attempt fixing refrigerant leaks or compressor problems yourself. These issues require an EPA-licensed technician to repair leaks, evacuate the system, and recharge refrigerant safely. Adding refrigerant without sealing the leak can damage the compressor further. Call a professional for a proper diagnosis and sealed-system repair.

High-intensity true ultraviolet leak detection penlight and AAA batteries

Reflective & Waterproof Design: Dual-layer aluminum foil reflects heat and sunlight while blocking moisture, maintaining ideal indoor temperatures year-round.
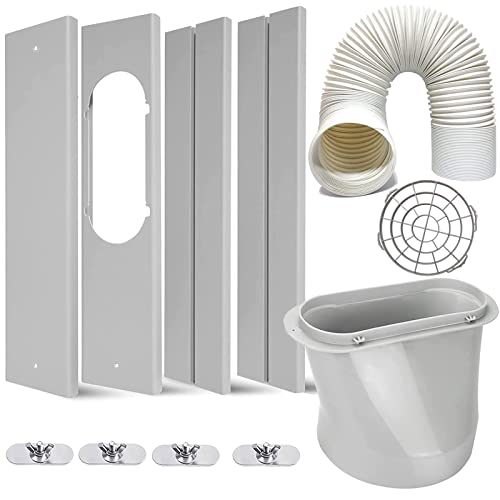
❄️【Strengthen sealing】:This window kit keeps your room cool for longer and save electricity charges. It effectively diffuse the hot air out of the window, preventing warm air circulating in your room meanwhile.