DIY Essential Oil Diffuser: A Simple Guide
If you’re wondering how to create a simple and natural essential oil diffuser at home, you’re in the right place. With just a few common materials—like a glass vessel, rattan reeds, and a carrier oil—you can make a diffuser that scents your space without electricity.
By the end of this, you’ll know how to assemble one easily and try other natural variations.
Vessel, Reeds, Oils, and Alcohol: Materials for a DIY Essential Oil Diffuser
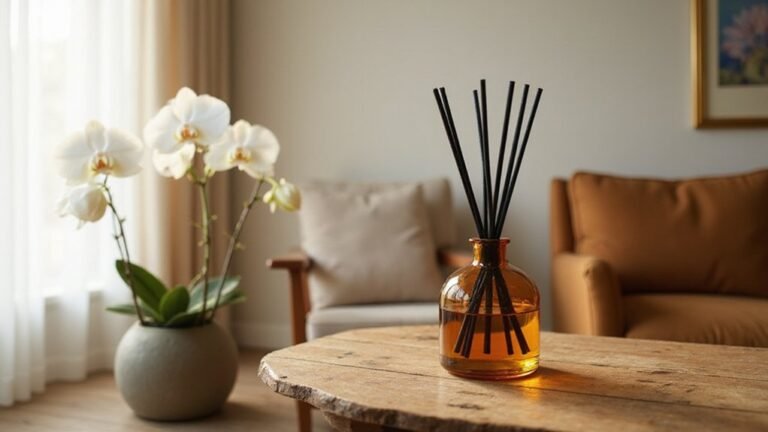
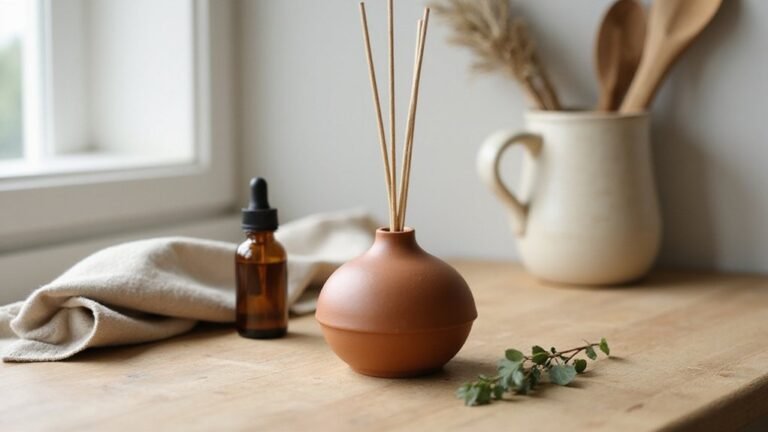
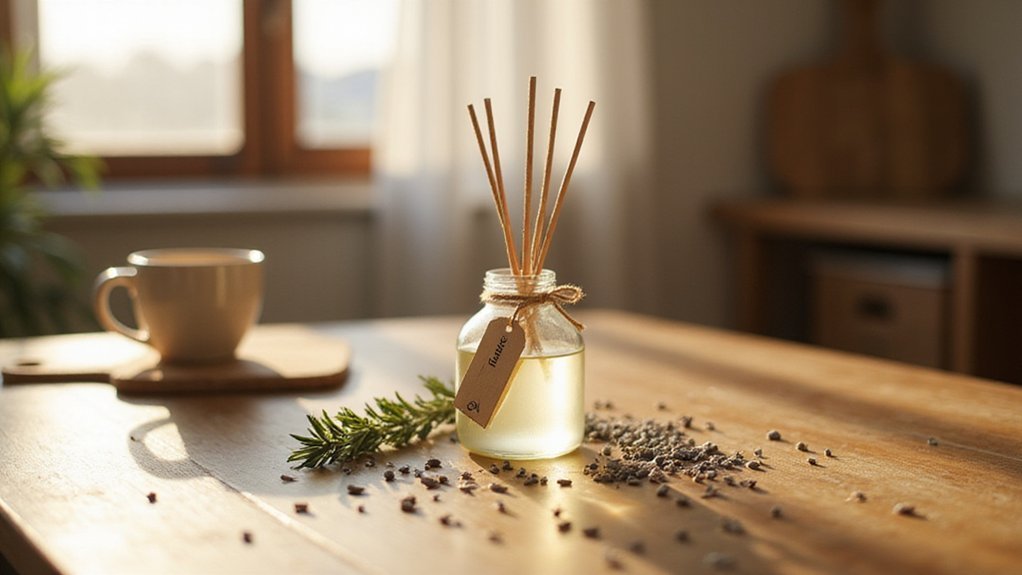
A good essential oil diffuser uses a glass vessel around 20 cm tall with a narrow neck. This size helps reduce evaporation and allows the oil blend to wick upward more effectively. Choose a stable, clean container that can support multiple reeds without tipping over. For reeds, rattan is the standard because it absorbs and releases scent gradually. You can also use bamboo sticks or barbecue skewers as alternatives. Start with 8 to 15 reeds; adding more increases the fragrance output. Unlike electric devices that use water, a reed diffuser can provide allergy relief by avoiding the introduction of airborne moisture. Understanding how aromatherapy diffusers work explains why this simple design mimics the technology of ultrasonic models by using capillary action instead of electricity. Maintaining good indoor air quality is essential for a mold-free home, and a reed diffuser avoids introducing moisture that could promote mold growth.
For the liquid mixture, use a low-odor carrier oil like almond or jojoba to transport the essential oils up the reeds. Mix roughly 66-75% carrier oil with 25-33% essential oils. The total drops depend on your vessel size, generally between 25 to 70 drops. To improve diffusion and thin the blend, you can include a splash of alcohol such as 96º or vodka. This combination ensures a steady, long-lasting scent release with minimal mess.

It is dyed with reed diffusion sticks of natural colors

【Perfect Replacement】Our 20-pack of essential oil diffuser sticks measures 10 inches in length and 3mm in diameter, making them ideal for use in home reed diffusers, ensuring a continuous release of delightful fragrances.

It is dyed with reed diffusion sticks of natural colors
How to Assemble Your DIY Reed Diffuser Step by Step
Once you’ve selected your materials, assembling the diffuser involves a few simple steps. When using essential oils, ensure the room is well-ventilated to minimize inhalation risks. First, choose a glass or ceramic container, as plastic can react with the oils. Use a funnel to pour your blended fragrance solution into the vessel, filling it about halfway to prevent spillage and ensure proper diffusion. Gently insert four to eight reeds into the opening, fanning their tops outward to promote airflow. Do not disturb the liquid; just let the reeds settle naturally. Maintaining proper indoor humidity levels can also enhance comfort and health by preventing mold growth. For an alternative cooling method, consider that window air conditioners are top-rated for maintaining consistent comfort.
Wait for one hour to allow the reeds to absorb the fragrance. After this time, flip the reeds so both ends are saturated, which activates capillary action for better scent dispersion. Keep in mind, it may take up to 48 hours for the full fragrance to develop after reed rotation. Place your diffuser in a spot away from children and pets, and avoid crowded areas to maximize diffusion efficiency. For ongoing freshness, flip the reeds weekly to refresh the scent. That’s all it takes to assemble and maintain your DIY reed diffuser safely and effectively.

Size:11cm x 8cm.Package:1 x empty diffuser bottle.

△DIY YOUR OWN FRAGRANCE--These perfume reed diffuser bottles offer the freedom to experiment and create your own signature fragrances. Glass diffuser bottles are perfect for essential oils or perfumes, and comes in a matte black. They're ideal for adding a touch of aroma to homes, hotels or offices and can be used for events or relaxation practices like Spa and Meditation. The 100ml capacity provides ample space for creating unique scents without frequent refills.

Use Thicken glass material, exquisite appearance, environmental friendly, sturdy, durable, solid, heavy bottom
What’s the Best Oil Ratio for a DIY Essential Oil Diffuser?
For reed diffusers, aim for a 20–30% essential oil blend mixed with 70–80% carrier oil. This ratio ensures the scent disperses effectively without overpowering the space. In an 8-ounce bottle, this translates to about 1.5 to 2 ounces of essential oils. Using this proportion helps maintain a consistent fragrance and prevents the reeds from becoming saturated too quickly. Adjustments can be made based on personal preference or specific oil strengths, but starting within this range is recommended for balanced diffusion. Maintaining a 1:3 ratio of essential oils to carrier oil is a common guideline for effective homemade diffusers. For an even more controlled scent release, consider pairing your diffuser with a remote-controlled ceiling fan to gently circulate the aroma throughout the room. Excess moisture in the air can be effectively managed by a dehumidifier, which works to improve overall indoor air quality. Additionally, placing your diffuser in a bedroom with a dehumidifier can help prevent mold growth by reducing humidity levels that dampen essential oil reeds.
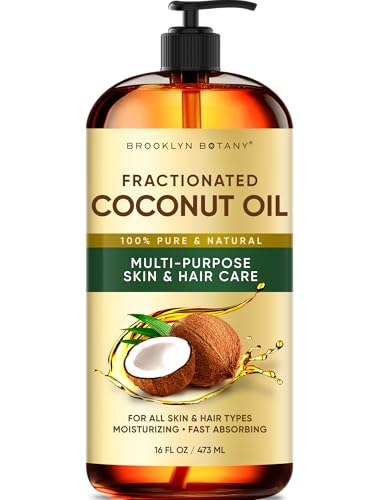
EXPELLER PRESSED FRACTIONATED COCONUT OIL – Coconut Oil is rich in medium chain triglycerides that benefit the skin, hair, nails, and face. No parabens, sulfates or fillers, cruelty free, chemical free, hexane free, 100% vegan.

100% PURE & NATURAL SWEET ALMOND OIL: Is ideal as a bath and body oil, commonly used for aromatherapy, massage, and as a skin moisturizer.

LIGHTWEIGHT FRACTIONATED COCONUT OIL – A smooth, odorless oil that remains liquid at room temperature and absorbs easily without leaving a heavy or greasy residue.
How Long Until Your DIY Diffuser Starts Scenting the Room?
Your DIY diffuser can start scenting a room anywhere from 30 seconds to several hours after setup, depending on the type. An ultrasonic diffuser begins dispersing fragrance almost immediately—usually within 30 seconds to 1 minute—reaching even coverage in about 5 to 10 minutes. Reed-style diffusers typically take 30 to 60 minutes to release scent noticeably, and up to 24 hours for the aroma to fully develop. Stone, ceramic, or terracotta diffusers need around 2 to 6 hours before you start noticing the scent filling the space. Room sprays work instantly but usually last only 30 minutes to 4 hours. The timing also depends on factors like diffuser maintenance, airflow, and room size. Clogged or dirty diffusers slow down scent release, so regular cleaning ensures quicker and more consistent aromatherapy. Smaller rooms with limited airflow tend to hold scent longer and feel fragrant sooner. For faster results, opt for active diffusion methods, which continuously push fragrance into the air. Understanding the science behind it helps explain why ultrasonic diffusers work faster than passive methods like reeds. For comparison, an air dehumidifier operates on a different principle, removing moisture rather than actively dispersing scent, which highlights why passive diffusion methods take longer to fill a room.
Pick the Best Carrier Oil and Essential Oil Blends for Your DIY Diffuser
The best carrier oils for reed or wick diffusers are fractionated coconut oil, grapeseed oil, and jojoba oil. These options stay thin and odorless, allowing the essential oils to disperse evenly without clogging the wick. Fractionated coconut oil remains liquid and stable at room temperature, making it ideal for consistent diffusion. Grapeseed oil offers a light texture that spreads the scent effectively without feeling greasy, while jojoba oil provides a stable, non-greasy flow that helps prolong shelf life. Regular maintenance of your diffuser is key to ensuring that the wicks draw the oil efficiently over time. For optimal performance, store your diffuser oil blends in a cool, dark place to prevent oxidation and preserve scent quality.
Avoid thick oils like olive or avocado because they tend to clog the wick, reducing scent throw and damaging the diffuser over time. For optimal blend stability, aim for a ratio of about 75% carrier oil to 25% essential oils. This ratio ensures enough aroma while maintaining the flow and diffusion quality. Remember, choosing a lighter carrier oil not only improves how well the scent disperses but also helps maintain a steady, long-lasting aroma in your space. To prevent wick blockage and ensure consistent performance, regularly wipe down the diffuser’s wick and neck to remove dust and oil residue.

100% PURE & NATURALLY DERIVED FRACTIONATED COCONUT OIL: A versatile carrier oil used for aromatherapy, essential oils mixing, massage, pets, and as a hair & skin moisturizer. Fragrance Free, Hexane-Free, Preservative Free, Chemical Free, and Vegan.

100% PURE & NATURALLY DERIVED FRACTIONATED COCONUT OIL: A versatile carrier oil used for aromatherapy, essential oils mixing, massage, pets, and as a hair & skin moisturizer. Fragrance Free, Hexane-Free, Preservative Free, Chemical Free, and Vegan.

USDA Organic Quality: Yoken USDA Organic Fractionated Coconut Oil is made from organically grown coconuts. The pure coconut oil stays liquid, odorless, and colorless, absorbing easily to leave skin feeling soft and comfortable without greasiness
Make a Clay or Baking Soda Version of Your DIY Essential Oil Diffuser
To make a passive diffuser from air-dry clay or baking soda dough, start by preparing the material. For clay, knead it thoroughly to eliminate air bubbles, then roll it out to about 1/4 inch thick. This thickness ensures the material remains durable enough to resist breaking, as thinner pieces tend to crack easily. You can press lace or rubber stamps into the surface to add texture or design, which also creates more surface area for scent diffusion. Before drying, punch a hole with a straw—this will serve as the insertion point for your essential oil. Let the clay sit undisturbed for 24 to 48 hours until it becomes completely dry and hard. Unlike electric models, this passive method avoids energy costs while still providing a gentle aroma. For optimal scent distribution, place the diffuser in a room where airflow patterns can naturally carry the fragrance. As with any home project, ensure the diffuser is placed away from direct heat sources to maintain a safe installation.
For the baking soda version, make a dough by cooking 1 cup baking soda, 1/2 cup cornstarch, and 1/2 cup water over medium heat until it forms a firm, malleable dough. This natural alternative avoids synthetic fragrances by relying solely on essential oils. Roll it out to your desired shape and thickness, then dry it for at least 24 hours. Once fully cured, you can add 1 to 2 drops of essential oil to the back of the piece. Reapply oil as needed when the scent begins to fade for continuous, passive fragrance diffusion. Both methods offer a simple, non-electric way to scent your space.
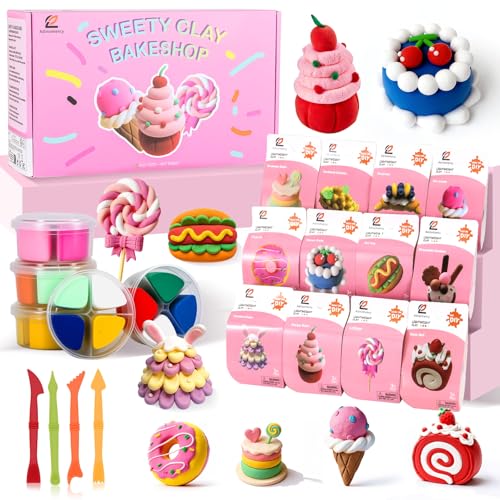
Ultimate Air Dry Clay Kit for Creative Kids! Dive into a world of creative fun with our complete air dry clay kit! This all-in-one set lets kids create 12 adorable food-themed pastries like cupcakes and donuts. Each of the 12 individual cups comes pre-filled with 4 vibrant modeling clay colors, making it the perfect arts and crafts activity for boys & girls aged 3-12 and beyond.

Multicolor & More Fun: The air dry clay set contains 66 colors,with 1 instruction booklet, 4 sculpting tools and extra ziplock bags.Kids can mix and match, creating their unique hues while developing fine motor skills. This modeling clay kit is synonymous with infinite enjoyment for kids
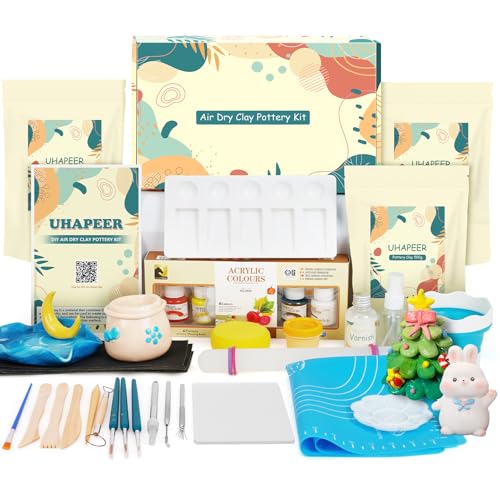
Comprehensive Pottery Kit: This all-inclusive air dry clay starter kit includes all the necessary materials to start your pottery journey - 3 x 1lb/500g air dry clay with storage bags, 1 x gloss varnish, 6 x acrylic paints, 8 x sculpting tools, 1 x sponge, 1 x palette, 1 x foldable bucket, 2 x brushes for detailing, 1 x work mat, 1 x spray bottle,1 x rolling pin, 1 x guide manual with a video tutorial. Transform your leisure time into a fulfilling pottery experience with the our airdry clay kit!