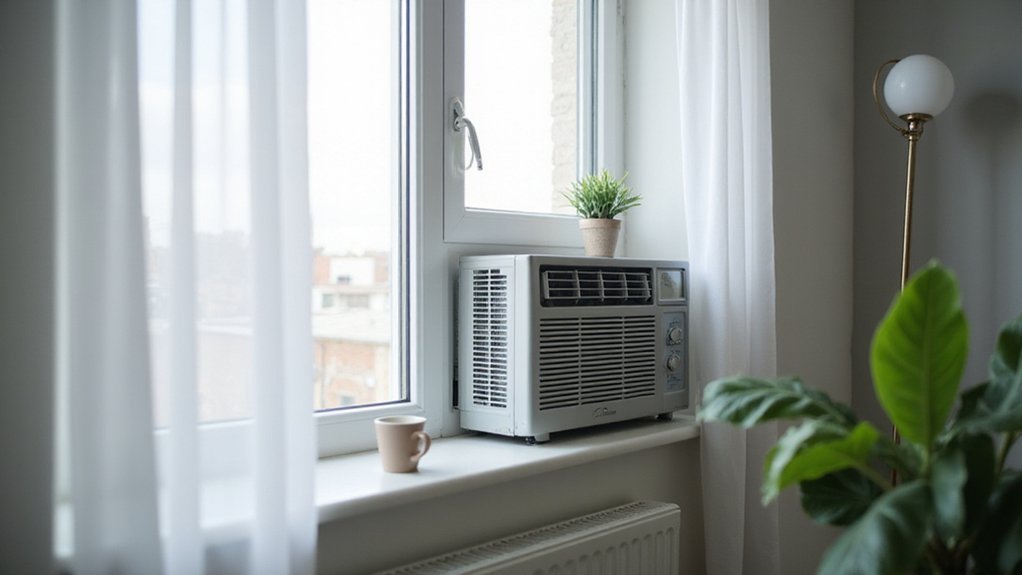
How to Install a Window Air Conditioner
Are you wondering how to get your window air conditioner installed safely and efficiently? Knowing the right steps can make the process smooth and ensure your unit works perfectly.
From measuring your window to sealing gaps and testing the setup, the key is to follow a clear, step-by-step approach.
Keep reading to learn exactly how to do it right.
Confirm Your Window Type and Measure the Opening
Your window’s style and size are crucial before purchasing an AC unit because they determine if the unit can be supported and installed safely. Identify your window type—single-hung, double-hung, sliding, casement, or picture window—as each has different sash movement and support requirements. For instance, single-hung has one moving sash, double-hung has two, sliding opens horizontally, and casements swing outward. Misidentifying the style can lead to incorrect bracket choices, resulting in wasted money and potential installation issues. Before committing, it is wise to compare the top options to ensure your chosen unit matches the performance and size ratings recommended for your specific window type. For optimal indoor air quality, consider selecting a unit that also incorporates a HEPA filter to capture airborne pollutants and allergens.
Accurate measurements are essential. Measure the opening width, height, and depth precisely using a tape measure. Do not rely solely on the visible glass; compare your measurements with the manufacturer’s specifications. Rounding to the nearest quarter inch is acceptable if necessary, but always verify against catalog tables. You can also check for labels on the frame, sash, or etched glass for exact sizes. Correct measurements ensure a proper fit, preventing gaps, support problems, and incompatibility with the AC unit. Using a dehumidifier alongside your AC can further reduce moisture that attracts pests like centipedes.
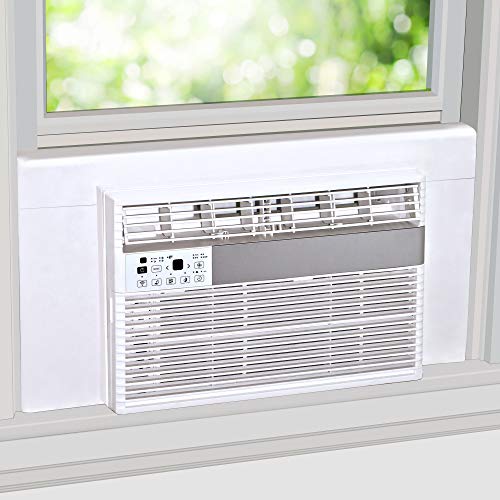
MATERIAL - 1’’ thick insulating foam covered in white flexible vinyl
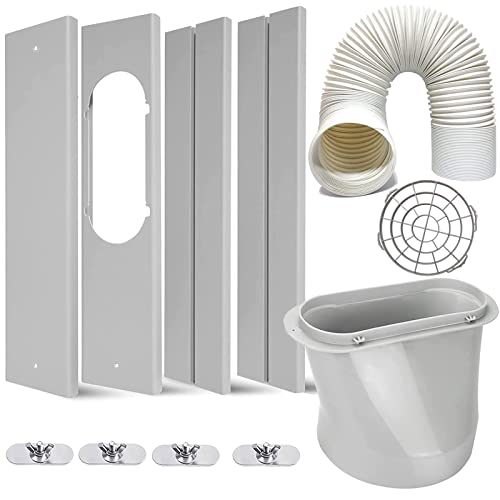
❄️【Strengthen sealing】:This window kit keeps your room cool for longer and save electricity charges. It effectively diffuse the hot air out of the window, preventing warm air circulating in your room meanwhile.
Gather Tools, Prep the Window, and Check the Sill
To prep for installing the window, gather your tools, prepare the window opening, and inspect the sill. Start by collecting a tape measure, level, screwdrivers, cordless drill, and a cutting tool for foam. Clear the workspace thoroughly to prevent tripping hazards during the installation. Remove the screen if it blocks the opening so you have unobstructed access. Regular cleaning of the unit helps prevent mold and buildup from accumulating on internal components. Choosing a unit with effective moisture removal is critical for damp spaces like basements, and crawl space dehumidifiers are specifically designed to handle such environments.
Next, check the window sill for at least two inches of flat, intact surface; ensure it is level or slightly outward-angled. Use spacers if needed to achieve proper alignment. Drill pilot holes into the wood to prevent splitting when fastening brackets or supports. Use a piece of wood to even out height differences on the sill. Inspect the sill and surrounding frame for damage—window safety depends on a solid, undamaged frame. If the unit fails to cool after installation, check for dirty filters or blocked airflow as common causes. Lastly, prepare foam weatherstripping and L-brackets for sealing and securing the sash, which helps weatherproof and stabilize the unit. Enlisting a helper is recommended, as lifting the AC alone can increase the risk of accidents.
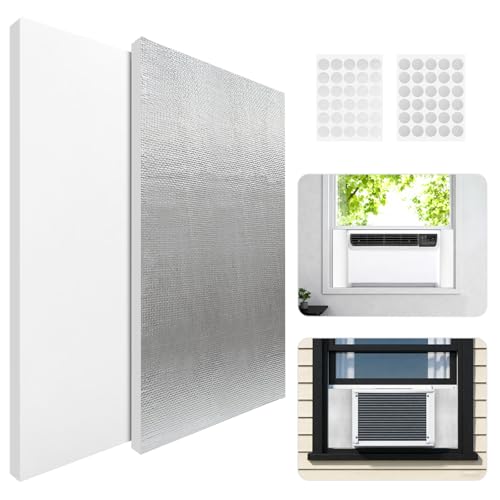
Reflective & Waterproof Design: Dual-layer aluminum foil reflects heat and sunlight while blocking moisture, maintaining ideal indoor temperatures year-round.
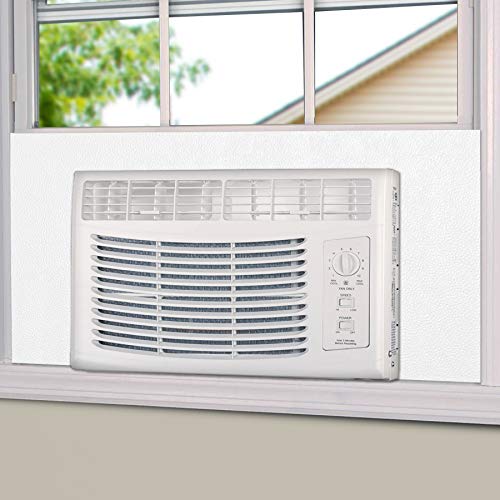
MULTI FUNCTIONAL DESIGN:The Insulating Panel is composed of a layer of heat-resistant insulating foam and PVC Surface with leather pattern,excellent sealing performance and looks great!
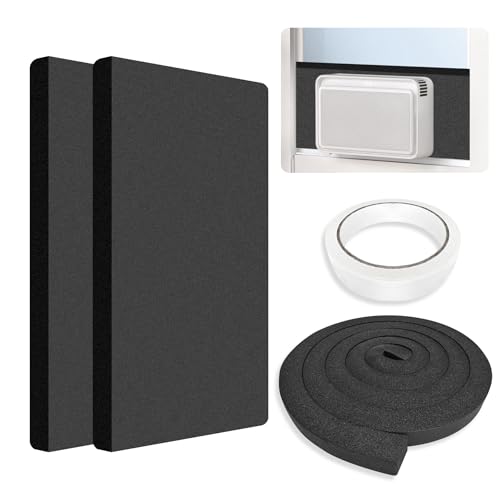
✅ Superior Insulation Performance to Cut Energy Bills: Our window AC insulated foam side panels are made of high-density, closed-cell foam that effectively blocks outdoor hot/cold air from seeping into your room. By forming a tight seal around your window AC unit, they prevent cool air loss in summer and warm air escape in winter, helping you reduce up to 30% of your monthly energy costs. Say goodbye to wasted electricity and uncomfortable temperature fluctuations!
Position the AC Unit With a Slight Tilt for Drainage
Position the AC unit with a slight tilt of about ½-inch downward on the outside edge to ensure proper drainage. This tilt creates approximately a 1–2 degree slope that helps gravity pull condensation away from the unit. Use shims placed under the indoor rail to achieve this angle; avoid forcing the cabinet or warping the frame, which can cause issues later. Unchecked water pooling inside the unit from improper tilt can lead to mold growth and impair cooling efficiency. For plants like peace lilies, maintaining proper drainage helps prevent moisture buildup that mimics high humidity needs for optimal growth. When selecting your unit, consider reading Top Fan Tower Reviews to compare models with reliable drainage systems. Before tightening any fasteners, verify the tilt with a carpenter’s level placed along the bottom edge of the unit. Check that the bubble leans toward the outside. If it sits flat, add another shim to increase the slope. Too much tilt can cause water to splash back, while too little allows water to pool and potentially leak or promote mold growth. Performing this quick check now prevents water messes and potential damage later. For a bedroom, choosing a model with consistent drainage management can also help prevent moisture issues that encourage mold.

Universal Design: Our ac support bracket for window Designed to fit most of the window A/C units on the market,suitable for solid window stills ,brick ,cement, solid wood.It can also adapt to tilting installation surfaces.United States Patent:US 10295221 B2..
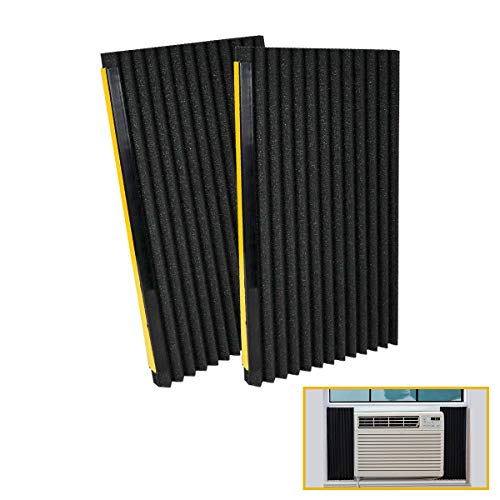
[✔Universal Design]:Air Conditioner Side Insulating Panels design to cover your broken original panel or work as replacement,these Panels fit most of window units, 5000 - 22000 btu

【 ✅ Main Design】 Window air conditioner side panels design is mainly designed to isolate the gap between the air conditioner unit and window frame.Block indoor cold air in winter and outdoor hot air in summer.
Secure the Lower Sash, Seal Gaps, and Lock the Window
Begin by cutting foam seal strips to fill the gap between the upper and lower sashes, as well as any side gaps. If the window unit is narrower than the existing frame, use plastic vent flaps or filler pieces to close the space effectively. Recheck for light leaks by looking for visible light around the edges; if you see light, add more foam sealant. Proper sealing cuts down drafts, keeps out pests, and improves energy efficiency. Once sealed, lock the sash securely and tighten any screws to create a stable, resistant-to-opening installation. Reusing foam pieces by taping them back in place ensures the seal remains effective after removal and prevents air leaks.
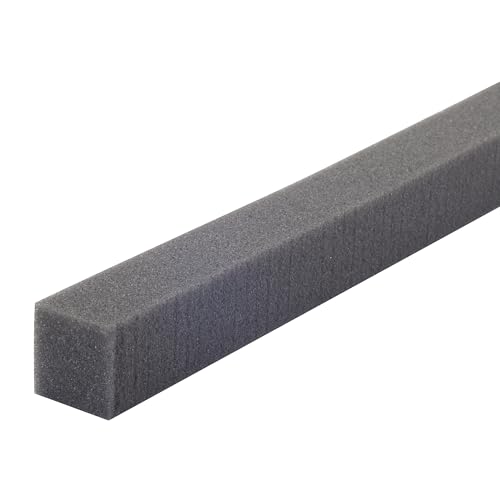
SNUG INSULATING FIT – Designed as a foam window seal and window foam seal strip to create a tight barrier around window AC units. This air conditioner window seal helps reduce drafts and improve overall foam window insulation.
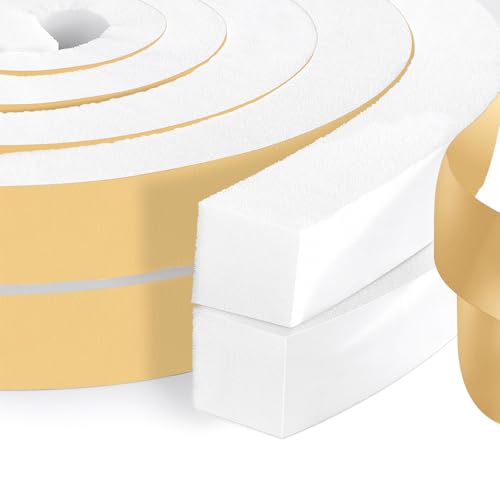
Design for Air Conditioner Window Seal, Energy Saver - The widened and thickened weather stripping is used for sealing the gap around the air conditioner between portable AC unit and window, to keep cold air in house during the summer and block draft out of the house during winter. White weather stripping blend with the color of your window frame and air conditioner.

Test the Unit, Confirm Drainage, and Fix Common Problems
To test the unit, confirm drainage, and fix common problems, start by sealing and locking the window securely. Then power on the air conditioner to verify it operates correctly. Check that the compressor runs, the fan spins, and cold air blows — you should see about a 20°F temperature drop. For drainage confirmation, observe the rear of the unit for condensation dripping. If water pools inside instead, adjust the tilt or inspect the drain path for blockages. Measure resistance between common and start terminals (around 4.6Ω) and between common and run terminals (around 1.3-1.4Ω) to assess the compressor winding condition. If the unit does not turn on, begin electrical troubleshooting by testing the power at the cord and control board with a multimeter. A dead compressor often indicates a failed capacitor; make sure to safely discharge it before testing. Use an ohmmeter to check the compressor windings for continuity and to confirm there are no shorts to ground. Signs of refrigerant issues include uneven frost buildup or weak cooling, which may require professional service. For context, many modern units also use a HEPA filter to capture airborne particles before air passes over the cooling coils. Additionally, using too many drops of oil in a diffuser can overwhelm the space, so follow essential oil drop guidelines for a balanced aroma. Following the oil drop guidelines ensures a consistent fragrance is maintained without overpowering the room. Troubleshoot and fix common issues by inspecting switches, seals, and wiring, ensuring each component functions properly before considering the problem resolved.
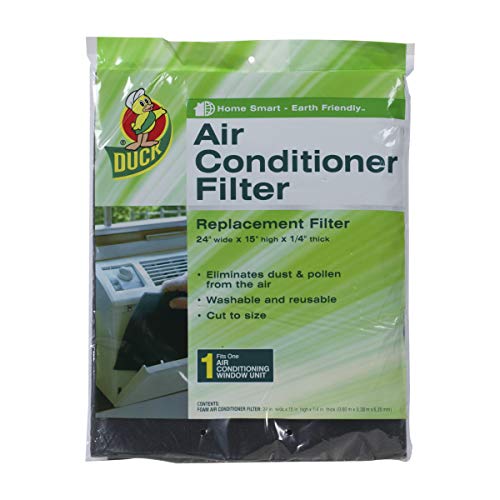
Eliminates dust and pollen from the air

Air Conditioner Replacement Parts Number : WJ85X21746 for GE window AC filter replacement replaceable ac filters AP6280063,4588851, A0010209471,PS12171954 window air filter for GE room air conditioner. For ge window air conditioner filter provide you with more comfortable service and better experience when using air conditioners.

Optimal Compatibility: Designed specifically for GE air conditioners models AHQ06LYQ1, AHQ06LYW1, AHR05LWQ1, and AHR05LWQ2, ensuring a perfect fit for seamless operation and performance