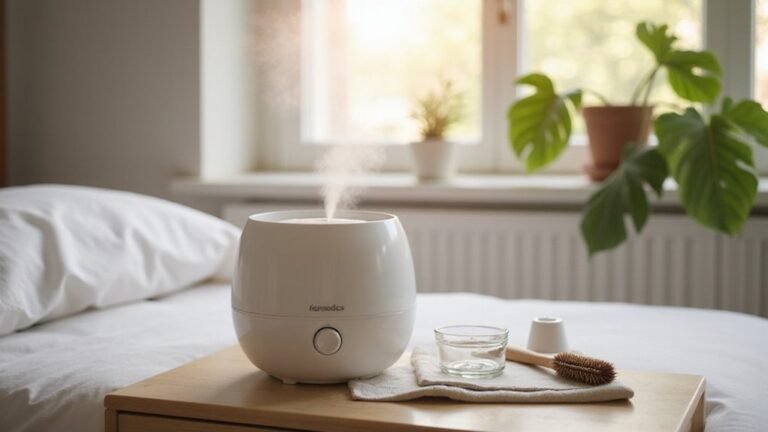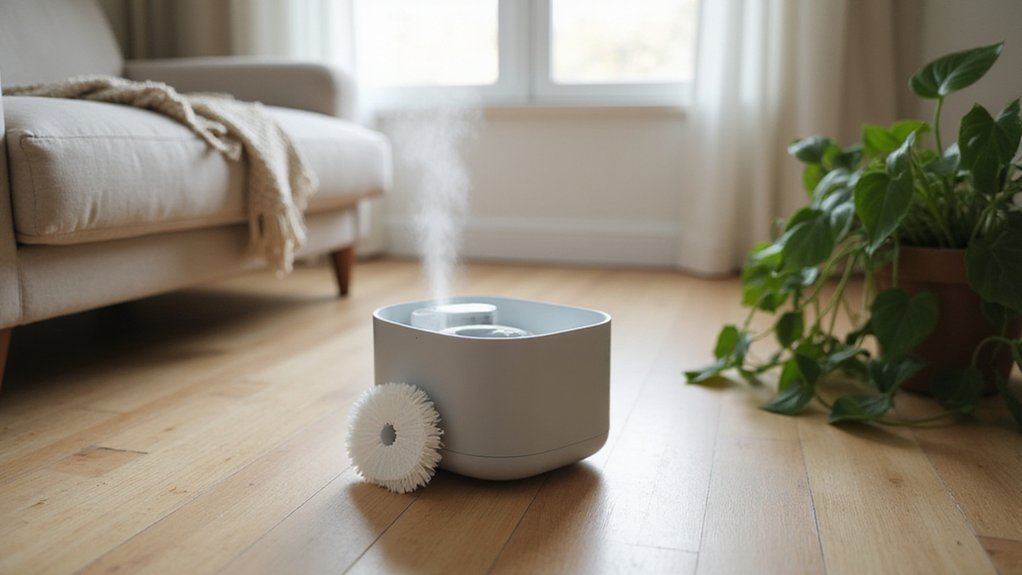
How to Change a Humidifier Filter
Changing your humidifier filter might seem tricky, but with the right steps, it’s straightforward and keeps your device working efficiently.
Knowing how to do it properly helps prevent water spills and ensures your humidifier stays clean and safe to use.
By the end of this, you’ll be able to replace the filter confidently and keep your humidifier running smoothly.
Keep reading for the full step-by-step process to get it done right.
Why Replace Your Humidifier Filter Regularly
Replacing your humidifier filter regularly ensures better air quality. A clean filter traps dust, pollen, pet dander, and other airborne particles before they are released into your indoor environment. If the filter is not changed often enough, these contaminants can re-enter your air, reducing the health benefits of humidification. Additionally, a neglected filter can harbor mold or bacteria, which may cause musty odors and respiratory irritation. Knowing what a dirty humidifier filter looks like can help you identify when replacement is overdue. By maintaining a regular replacement schedule, you help guarantee that the mist you breathe remains clean and healthy, supporting better indoor air quality and respiratory comfort. For those seeking a similar cooling solution, selecting a top window air conditioner can also improve indoor air quality by filtering out pollutants. A well-chosen bedroom fan can also circulate filtered air to maintain consistent comfort throughout the room.
How to Turn Off Power and Water for a Humidifier Filter Change
To turn off the power and water supply before changing the humidifier filter, start by cutting off the electrical power. If the humidifier gets power from the furnace, switch off the furnace or flip its dedicated circuit breaker. Set the humidistat to OFF to prevent an automatic cycle from starting. For the water supply, locate the small shutoff valve feeding the humidifier. Turn the valve a quarter-turn perpendicular to the pipe line or rotate the manual valve clockwise until it stops. Ensure no water is flowing by checking for leaks or drips before proceeding. The controller may be located on the furnace or upstairs near the thermostat, so verify it is fully off to prevent operation during the filter change. Running a dehumidifier instead can help reduce moisture that attracts centipedes.
Treat the unit as fully de-energized by verifying that no control lights or fan activity indicate power. Keep your hands away from electrical connections until you confirm the power is off. Do not rely only on opening the access panel; double-check that both the electrical and water supplies are fully shut off to stay safe during the filter removal process.
Open the Humidifier Housing Without Breaking Clips or Seals
To open the humidifier housing without breaking clips or seals, follow a careful, step-by-step approach. First, ensure the power and water supplies are turned off. Identify your humidifier type: bypass models typically have top and bottom snap latches, which you should release both separately to remove the clips safely. Portable models might use recessed screws and a lifting base; in this case, remove the screws carefully before lifting.
For plastic tabs, apply controlled pressure—not force—to avoid damage. Use a plastic pry tool or a putty knife along the seam to gently loosen the housing without scratching. Push each tab outward one at a time; a distinct snap indicates it has disengaged. Avoid twisting or forcing the cover open. Instead, lift it evenly to prevent damaging gaskets or compromising the seal. Once inside, replace the water pad by tilting it forward and lifting it out gently to avoid damage. Proper maintenance intervals depend on your home’s humidity levels and usage. For homes needing air quality improvements, a whole-home air purifier can complement a humidifier by removing airborne particles. Regular cleaning with white vinegar helps prevent mold and buildup inside the unit.
If resistance persists during removal, double-check for any unreleased latches or screws. With patience and a gentle touch, you can access the interior components without breaking clips or seals, making maintenance safer and easier.
Remove the Old Humidifier Filter Without Spilling Debris
To remove the old humidifier filter without spilling debris, start by turning off the power and waiting for the fan or pump to completely stop. This ensures no dust or water sprays into the air during removal. Focus on containing the filter from the start. Tilt and lift it slowly and carefully, supporting the bottom while pulling from the top. Keep the filter vertical as you slide it out to prevent mineral flakes or wet sediment from scattering. Expect to see calcium deposits or brown slime—hold the filter over a sink, towel, or catch tray to control debris. Drips are normal, so be prepared for them. Immediately place the used filter into a plastic bag or disposal container, then seal it tightly. Never put it on carpet or open countertops, as this can spread residue. Bagging it right away keeps your space clean and minimizes secondary cleanup. Regular cleaning and proper maintenance extend the lifespan of the humidifier, and for other appliances like fans, using a soft brush attachment helps prevent buildup on delicate grilles. To reduce fire risks while the unit runs unattended, always place the humidifier on a flat, stable surface away from flammable materials like curtains or bedding, as space heaters pose similar hazards. For apartment dwellers, selecting an appliance that also manages moisture effectively, such as a compact dehumidifier, can improve overall air quality.

Genuine AprilAire Replacement Filter: This water panel assembly replacement was designed and made in the USA by AprilAire to fit Whole-House Humidifier Models 600, 600A, and 600M

Genuine AprilAire Replacement Filter: This water panel assembly replacement was designed and made in the USA by AprilAire to fit Whole-House Humidifier Models 700, 700A, and 700M

Genuine AprilAire Replacement Filter: This water panel assembly replacement was designed and made in the USA by AprilAire to fit Whole-House Humidifier Models 500, 500A, and 500M
Clean the Humidifier Tray Before Installing a New Filter
To clean the humidifier tray before installing a new filter, start by unplugging the humidifier and turning off the water supply for whole-house units. Empty all standing water and disassemble the base to access the tray. You will likely find mineral buildup from hard water, which can clog water flow and reduce your new filter’s effectiveness, so don’t skip this step. For homes using multiple units in very cold climates, proper tray cleaning helps extend the life of each filter to about six weeks. Choosing the right ceiling fan color for your bedroom can also help tie the room’s design together after maintenance. Understanding how bedroom airflow works can further improve your home’s comfort during maintenance tasks. For the best results, use the proper tools and step-by-step method to remove stubborn deposits.
Prepare a cleaning solution by mixing one part white vinegar with three parts water, or use undiluted vinegar for heavy deposits. Soak the tray for 15 to 30 minutes to loosen crusty scale. After soaking, scrub the tray gently with a soft-bristle brush to remove any remaining residue. For tough spots, repeat the soak and scrub process. Avoid using abrasive tools that can scratch the tray’s surface.
Thoroughly rinse the tray with clear water until the vinegar smell disappears. Allow it to air dry completely or wipe it with a clean microfiber cloth. Never reassemble the humidifier while the tray is damp, as moisture can promote mold growth. Once dry, the tray is ready for the new filter installation.

This small cleaning brush set includes eight different brushes—crevice, bottle, gap, corner, edge, groove, detailing, track and hole brushes. Designed to tackle various cleaning tasks, it efficiently removes dirt from small and hard-to-reach spaces.

Glas mit Spiraleinsatz

【Deep Cleaning Power】 Effortlessly remove stubborn dirt from your humidifier with our advanced humidifier Cleaner Brush Set. Breathe fresher air while keeping your home healthy.
Install the New Humidifier Filter Correctly (Check Arrows and Orientation)
To install the new humidifier filter correctly, start by checking the orientation markings on the filter. Many filters have arrows or a “TOP” label to guide proper placement. Ensuring correct orientation is essential because the marked side must align with the unit’s airflow path. For certain models, this means the color side should face up. Always position the filter with the color side up when replacing. Skipping this step or installing the filter incorrectly can reduce efficiency and lead to leaks.
Next, match the airflow direction arrows on the filter to the airflow path indicated in your unit. Proper alignment guarantees the filter sits flat inside the housing and supports normal operation.
Then, slide the filter smoothly into the housing, guiding it along any tabs or tracks provided. It should seat flush on all sides and click firmly into place if the design includes locking features. Partial seating or misalignment can cause gaps that interfere with operation.
Before completing installation, double-check that the filter fits snugly and appears properly aligned. If it doesn’t slide in easily or shows signs of misorientation, remove it and verify the markings once more. Correct installation not only maintains performance but also prevents potential leaks or airflow issues.

BUY WITH CONFIDENCE This genuine replacement water panel was designed and manufactured in the USA by AprilAire, the leader in indoor air quality solutions, to optimize the performance of your AprilAire Humidifier Models: 300, 350, 360, 560, 560A, 568, 600, 600A, 600M, 700, 700A, 700M, 760, 760A, 768
BUY WITH CONFIDENCE This genuine replacement water panel was designed and manufactured in the USA by AprilAire – the leader in indoor air quality solutions to optimize the performance of your AprilAire Humidifier Models: 300, 350, 360, 560, 560A, 568, 600, 600A, 600M, 700, 700A, 700M, 760, 760A, 768

Compatible Models:Compatible with Canopy Bedside and Nursery Humidifier.Pack includes 4 premium humidifier filters
Reassemble the Humidifier and Restore Power and Water
To finish the job after installing the new filter, start by aligning the housing pieces and pushing them until you hear a click. Make sure the drain-port area seats correctly to prevent leaks later. Reinsert the water line gently, routing it in a natural curve without pinching, and secure any clamps removed during disassembly. Refit the cover by lining up the tabs first, then press along the edges until they are flush and stable.
Next, switch the damper from summer to winter mode for seasonal maintenance. Keep the damper closed in summer to restrict airflow and save energy. Once all panels and connections are secure, restore power only. Confirm that the unit is off before adjusting settings, then turn it back on. Ensure every clip, hose, and drain point sits properly to prevent any operational issues. When everything is correctly in place, your humidifier will be ready to run smoothly. Before restoring power, confirm the housing is pushed in until both sides click into place. Unlike a humidifier which uses a wick, an essential oil diffuser relies on ultrasonic vibration to disperse fine mist particles. For better air quality, consider models that use ultrasonic technology to improve comfort and health. A dehumidifier in the bedroom, for instance, uses a refrigeration coil to effectively condense moisture from the air.

【COMPATIBLE HUMIDIFIERS】 Compare to demineralization cartridge UHE-HDC4, this cartridges not only suitable for HE-CM25, UHE-CM25, UHE-CM45, UHE-CM45B, UHE-CM65, UHE-WM70, UHE-OC1, UHE-OW14, UHE-WM16, UHE-WM65, UHE-WM85, but also works with more ultrasonic humidifiers (1 gallon tank or larger)

Reduces release of white dust caused by minerals in tap water

Humidifier Replacement Filter Compatible with LEVOIT ultrasonic humidifiers - Classic160 / Dual 200S / Dual 150 / Classic 300 / Classic 300S / OasisMist450S / LV600S / LV600HH / OasisMist600S / Superior 6000S model series. ※Please confirm your humidifier model before purchase.
Test for Leaks and Confirm Operation After Humidifier Filter Replacement
After reassembling the humidifier and restoring power, perform a leak test and confirm operation by running the unit briefly. Observe the water sources, including the tank, base, and drain path, for any signs of leakage, especially during the initial water appearance. Ensure the distribution tray is properly aligned and check for clogs in the water panel that could cause water to divert over the top. Verify the drain tube carries water freely, free of kinks or mineral buildup. Confirm that the tank cap seals tightly and the reservoir sits fully in place. Watch for visible trickling into the drain after activation. Inspect all seals for cracks or brittleness, and recheck the filter orientation and distributor tray if leaks persist. Clean up any floor moisture immediately. Run the humidifier for several hours to let any issues surface after cycling. If leakage continues, consider inspecting the base or hose for cracks, and contact a professional technician if necessary.