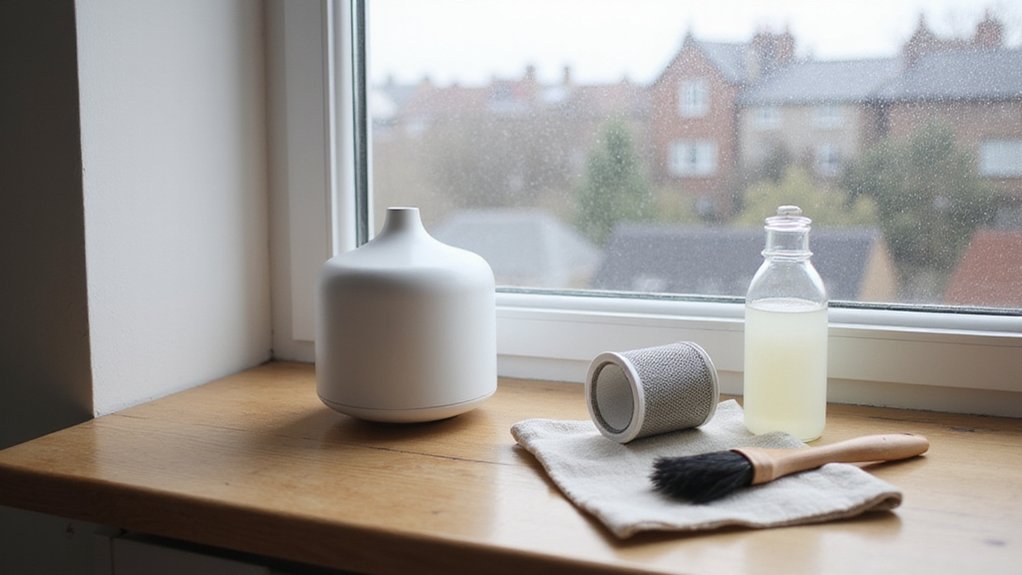
How to Clean a Humidifier Filter
If your humidifier filter isn’t working well or has an unpleasant smell, cleaning it properly can make a big difference.
The method depends on the type of filter—some can be rinsed, while others need replacing.
Knowing how to clean or replace your filter ensures your humidifier remains effective and safe to use.
Keep reading for simple steps to keep your humidifier in top shape.
When Should You Clean Instead of Replace Your Filter?
You should clean your filter instead of replacing it when it is washable, still structurally intact, and free of damage. Check your filter’s label first; if the label indicates it is washable, and the filter remains flexible and free of tears, mold, or stiffness after rinsing, cleaning every 1 to 2 weeks is sufficient. In cases of heavy use or with hard water, more frequent cleaning helps maintain performance. For example, in very cold weather a humidifier may run non-stop to keep indoor humidity at 30%, requiring a diligent cleaning schedule to prevent the filter material from disintegrating. Using a dehumidifier for centipedes can also help reduce moisture that attracts pests in your home. For better results, consider pairing your humidifier with a bedroom dehumidifier to control overall humidity levels. For homeowners wanting broader climate control, integrating a smart thermostat can help optimize both heating and humidity settings.
A good candidate for cleaning will show no signs of material breakdown after rinsing. If the filter smells persistent, appears discolored, or shows signs of material deterioration such as tears or stiffness, it’s time to replace it. Disposable paper filters and worn wicks are designed for single use and should never be washed.
Replace your filter every 1 to 3 months or sooner if you notice reduced mist output, which indicates it may be clogged or contaminated. Hard water or daily use can accelerate wear, making regular replacement or cleaning even more important. Always monitor your filter’s condition and performance, and swap it out when cleaning no longer restores proper function or contaminants remain trapped.
Supplies and Safety Prep Before You Start
Before you start cleaning, gather the necessary supplies and set up your workspace safely. Collect white distilled vinegar, a soft brush or sponge, clean cloths, and protective gloves. You will also need a sink with running water and a well-ventilated area for safety. Never use bleach directly on the filter material because it can damage antimicrobial coatings. Always turn off and unplug the unit before beginning and consult your manufacturer’s instructions for model-specific guidance. Do not wring or squeeze the filter, as this can tear the material. Keep bleach and vinegar separate to prevent toxic fumes. Lay out a clean towel to dry parts and ensure electrical components stay dry. Proper preparation ensures a smooth cleaning process and reduces the risk of damage or injury. Always use distilled water for the humidifier to avoid mineral buildup and damage. If you are comparing cleaning methods, note that a water air purifier uses a different filtration principle than a HEPA system and may require distinct maintenance approaches. For those dealing with pet allergens, cat dander removal is often better handled by a HEPA filter than by a water-based unit. For optimal cooling performance, consider how a window air conditioner uses a different airflow and filtration design compared to portable or humidifier-based units.

One 16-fluid-ounce bottle of Distilled White Vinegar

5% ACIDITY: Clear distilled white vinegar with a clean, sharp taste

MEGA VALUE PACK: Set of 4 large jugs containing 128 fluid ounces each, providing a total of 4 gallons of powerful cleaning vinegar
How to Rinse a Humidifier Filter With Light Dust
If your humidifier filter has only light dust, a simple rinse with cool, running water is sufficient. Hold the filter under the stream, moving it slowly to ensure all sides are exposed. You’ll notice loose particles washing away; a slight brown residue is normal. Gently swish the filter in the water to dislodge trapped dust, but avoid wringing or twisting, as this can damage the filter media. Continue rinsing until no visible dust remains. After rinsing, let excess water drain off and place the filter in a well-ventilated area to air dry completely. Avoid heat sources, as they can warp the material. Never reinstall the filter until it is fully dry to prevent bacterial growth. This method effectively restores your filter’s performance when dust buildup is light. For deeper cleaning, always check the manufacturer’s instructions and consider using a vinegar solution to prevent mineral scale accumulation. For a more thorough understanding of moisture control, exploring the dehumidifier or humidifier comparison can help you choose the best device for your space.

Compatible Models :Fit for all humidifiers required 1043 Wick Filter, compatible models: EP9500, EP9R500, EP9800, EP9R800, EP9700, EP9R700, 826000, 826800, 831000, SS390DWHT, 821000, 821001 and others. To make sure a pleasant buying, you’d better check this 1043 su-per wick humidifier filter in size, model & product number

6 Piece Value Pack - 6 premium humidifiers filters for your Honeywell HAC-504, HAC-504AW, and HAC-504V1 humidifier filters. Made from high-quality, durable material with an optimized filter design to maximize your compatible Honeywell HCM 350 filter moisture output

Compatible with Honeywell humidifiers HCM-300 Series: HCM-300T, HCM-305T, HCM-305T-CST, HCM-310T, HCM-315T, HCM-350, HCM-350B, HCM-350W, HCM-350B-CST, HCM-500 Series:HCM-530, HCM-535, HCM-535-20, HCM-540, HCM-550, HCM-550-19, HCM-551, HCM-560, HCM-600 Series:HCM-630, HCM-631, HCM-632, HCM-632TG, HCM-635, HCM-640BW, HCM-645, HCM-646, HCM-650
Deep Clean Your Humidifier Filter With Vinegar for Scale
Light mineral buildup can usually be cleaned with just a thorough rinse, but stubborn white scale requires a stronger approach. White vinegar is effective because its weak acidity dissolves chalky mineral deposits that clog your humidifier filter. For deep cleaning, prepare a solution with equal parts vinegar and water. Alternatively, use two tablespoons of vinegar per half-gallon of water for a milder mix. Soak the filter in the solution for 15 to 30 minutes; if heavy crusting is present, let it sit longer. Use a soft-bristled brush to scrub seams and crevices gently. Afterwards, rinse the filter thoroughly with clean water to remove any vinegar residue. Run the humidifier with fresh water for a few minutes to flush out the system. Ensure the filter dries completely before reassembling to prevent trapped moisture, which can lead to mold growth. To maximize effectiveness, always position the humidifier on a level surface away from walls and electronics as recommended in the guide. For individuals suffering from laryngitis, maintaining optimal humidity levels can significantly soothe irritated vocal cords. Positioning the humidifier correctly ensures proper airflow and avoids interference with nearby thermostats.
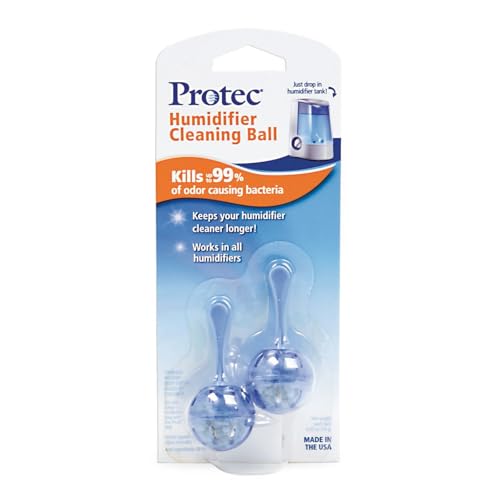
Works with all humidifiers; safe and non-toxic

Continuous cleaning: This humidifier water filter cartridge helps keep your humidifier cleaner longer

Humidifier Cleaner: Works in virtually all humidifiers, including the following types of residential humidifiers and vaporizers: Ultrasonic, Cool Mist (impeller), Warm Mist, Evaporative, and Steam Vaporizer. Also works in fish tanks
When Bleach Works (and When to Replace Instead)
Use bleach only for disinfection purposes, not for removing mineral scale. If you suspect microbial contamination and the filter is still intact, a bleach soak can be effective. Mix 1 teaspoon of bleach per gallon of water, let the filter sit for 15 to 30 minutes, then rinse thoroughly until no bleach odor remains.
Do not rely on bleach to remove hard mineral deposits—that’s what vinegar is for. If, after cleaning, the filter remains discolored, clogged, or still smells, it’s time to replace it. Chemical alternatives like hydrogen peroxide can also disinfect, but they won’t fix a worn-out filter. Visible mold damage, warping, or persistent debris are clear signs that replacement is necessary. Repeatedly bleaching the filter is not a solution; knowing when to discard it ensures cleaner air and fewer headaches.

4 Piece Value Pack - 4 premium humidifiers filters for your Honeywell HAC-504, HAC-504AW, and HAC-504V1 humidifier filters. Made from high-quality, durable material with an optimized filter design to maximize your compatible Honeywell HCM 350 filter moisture output
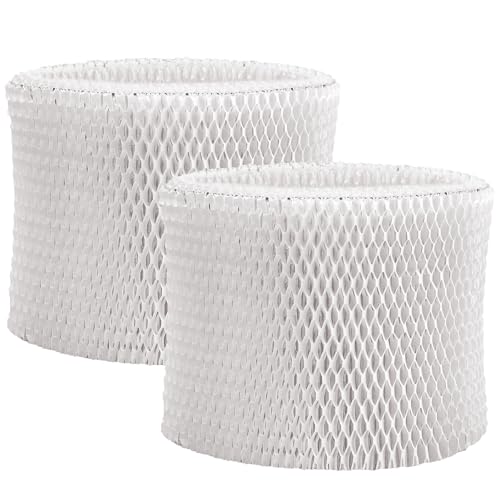
Compatibility: For Air Filter Factory replacement specifically designed for Pelonis PSU10E1BB, PSU10E1WW, PSU10E2FWW and PSU10E2FBB humidifier models

FIT MODELS – 6 pack HFT600 humidifier wicking filters for Honeywell HFT600T, HFT600PDQ, Filter T. Compatible with HFT600 Series, HEV-600 Series: HEV615, HEV615B, HEV615W, HEV620, HEV620B, HEV620W, HEV-615, HEV-615B, HEV-615W, HEV-620, HEV-620B, HEV-620W.
How to Dry, Reinstall, and Prevent Future Buildup
After thoroughly air-drying the filter, reinstall it only when all parts are completely dry. To speed up the drying process, run the humidifier for an hour without water or place a fan nearby. Use a clean microfiber towel to gently wipe away excess moisture—never wring or twist the filter, as this can damage it. Reassemble the humidifier only once everything is dry to reduce the risk of mold and bacteria growth. For best results, follow the same correct placement and setup tips used for other appliances to ensure proper airflow.
To prevent mineral buildup, swish the filter in cold water once a week and descale it with distilled white vinegar. Regularly empty and wipe the humidifier’s interior to avoid residue. Remove the filter whenever the unit is off, and rotate it periodically to ensure even wear. Never leave the filter submerged in standing water, and always use clean, fresh water for refills. Hard water contains minerals that can accelerate crust formation and clogging. Consistent rinsing and complete drying after each cleaning cycle help maintain a clean, efficient humidifier. For optimal moisture control, consider using a dehumidifier in damp basements to reduce overall humidity.
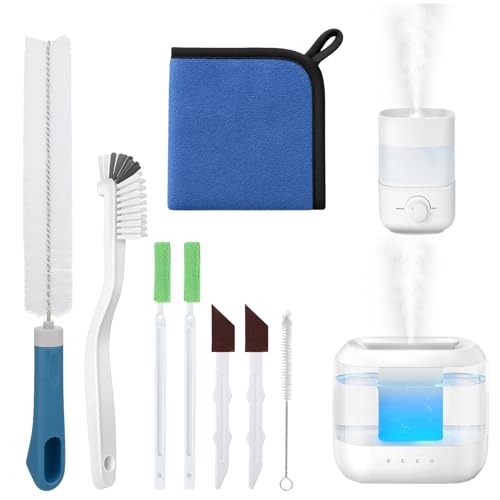
Humidifier Cleaning Solution:Still looking for a cleaning tool that can thoroughly clean your humidifier? Come and try our humidifier cleaning brush set!The nylon brush cleans the stains on the base, the sandpaper brush powerfully removes the severe scale at the bottom, and the long brush can easily reach the air outlet and the interior of the water storage tank, thoroughly cleaning every corner of the humidifier in all aspects, making your humidifier look brand new and more reassuring to use.

【Deep Clean for Fresher Breaths】Deep cleaning your humidifier. Allows you to easily remove stubborn dirt from your humidifier, feel fresher with every breath, keep the air moist and healthy, and avoid health problems caused by unclean humidifiers.

This small cleaning brush set includes eight different brushes—crevice, bottle, gap, corner, edge, groove, detailing, track and hole brushes. Designed to tackle various cleaning tasks, it efficiently removes dirt from small and hard-to-reach spaces.